Microsoft has since released the latest Windows 11 system which is now available to a couple of devices. Since the official launch of this system on October 5th, Microsoft released the beta of this system for a few weeks. The stable version of this system is now available and the upgrade to this version is free. However, the free upgrade of the Windows 11 is not widespread. This means that it is not available for free to many devices. The eligibility to get Microsoft Windows 11 for free is significantly stricter than the previous generation.
Thus, users who are not eligible to get this upgrade for free will need a way around the upgrade. Thankfully, even if your device is not eligible, there are ways you can install the Windows 11 system. However, this is not entirely an easy task because Windows 11 is the “most secure Windows” according to Microsoft. To install this update on unsupported devices, you will have to bypass the security and hardware requirement checks in Windows 11. The implication of bypassing Microsoft security checks is that you will not have some of Windows 11 safety promises.
At this point, we can safely say that using the method below to get Windows 11 is for those that badly need the system. Before discussing how to install Windows 11 on unsupported devices, there are some things you need to know
Things you should know before installing Windows 11 on unsupported devices
Since the release of Windows 11, the company has not been straightforward with the requirements for installing this system. The initial requirements were very stringent and the company got a lot of backlashes. Subsequently, the company informed users that they will not have any obstructions. Nevertheless, this statement comes with “terms and conditions”.
On Microsofts official support page, the company gives the full details of what to expect when you install Windows 11 on unsupported devices. Here are what to expect
- Compatibility Issues: The first expectation is that Windows 11 will have some compatibility issues on unsupported devices. Since the new system has been in the market for a few weeks, Microsoft has not done detailed testing for many devices.
- System Updates: Micorosft claims that any device that installs Windows 11 before it is officially available will not get guaranteed system updates. Whether it is a security update or major updates, these devices may not get any.
How to install Windows 11 on an unsupported device
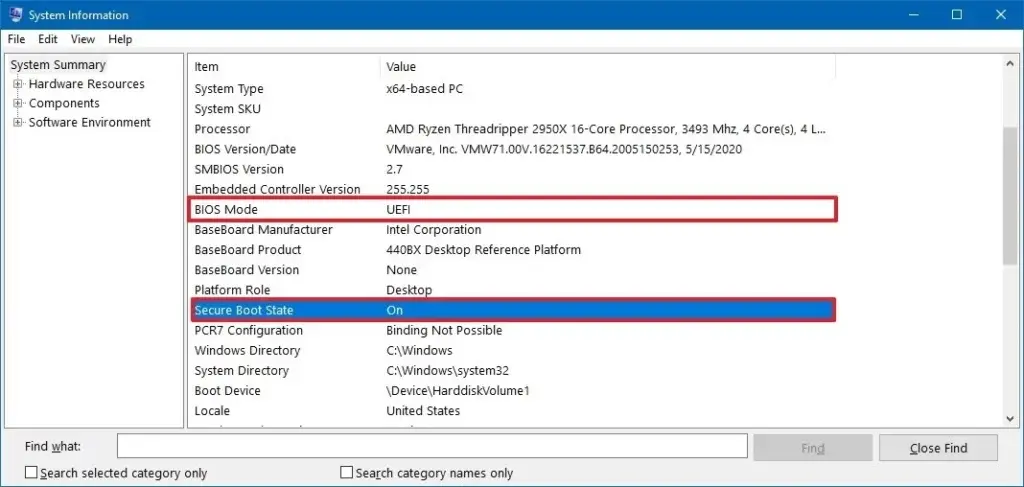
First off, you should use Microsoft’s PC Health Check App to check if your system is compatible with Windows 11. You will need to download and run this application. The app will reveal the components responsible for the ineligibility. In addition, it is important to check your boot system type in Windows. Furthermore, go to the System Information app in the Start Menu. To do this, search for msinfo in the Start Menu. On the left pane, click on System Summary and check the BIOS Mode. What you should see is either BIOS or UEFI.
Before commencing the upgrade, you need to have an 8GB USB drive (minimum). If the drive has more than 8GB capacity, it’s fine. With an official Windows 11 ISO and Rufus (a bootable creator app), you will need to create a bootable USB drive.
- The first step is to download Rufus (the latest version) from here. If you need a one-click experience, you can pick the portable version
- Go to Windows 11 ISO official download link
- Click Download on the Download Windows 11 Disk Image (ISO) section and select Windows 11. Click on the blue Download button.
- Choose your language from your ISO. Click on Confirm and the download will begin.

- After downloading the ISO, slot in the USB drive and activate Rufus
- Rufus will automatically detect the USB drive. However, if it or you see a different drive selected, click on the dropdown menu under the Device label, and select your USB drive.
- Then, under the Boot Selection label on the right, click on the SELECT button. Select the downloaded Windows 11 ISO file. Rufus will populate the rest of the settings. However, you may have to change the settings to your choice.
- Select Extended Windows 11 in installation (no TPM / no Secure Boot) in the Image Options label. This is the setting that allows you to install Windows 11 without TPM checks.
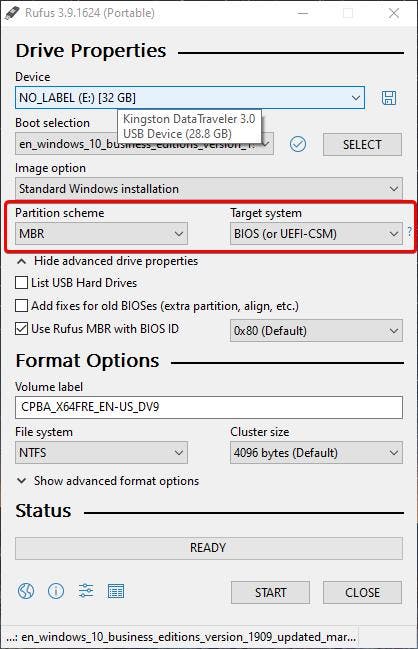
- In the Partition Scheme label, if you have a BIOS system, select MBR. However, if you have a UEFI system, select GPT. You should see the Target System label reflect your BIOS Mode as you switch the Partition Scheme.
- Click on Start to create the bootable USB. It will take some time to write the files to the USB drive. You will see a confirmation when the process is complete.
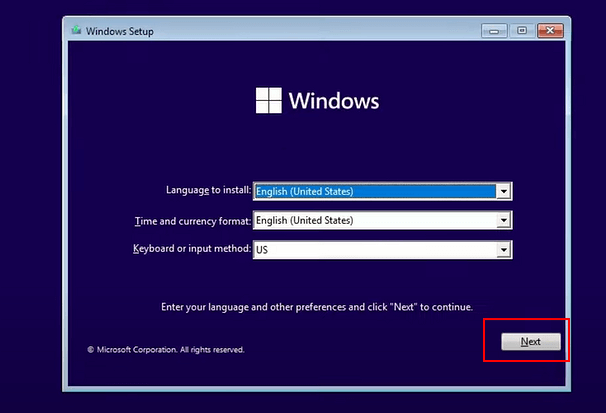
From here, the rest of the process is pretty easy and straightforward. You just need to slot in the USB drive to the device and boot it up. To boot into the Win11 bootable USB, you need to find your boot device menu from the boot options key in the system. This key is different for different devices. Usually, it is the Delete key or one of the function keys. After this, the boot menu should come up. When this happens, select the USB drive, and follow the Win11 installation setup.
N/B: Please note that you will have to remove the Win11 security checks by modifying the Win11 ISO. If this is not done, the upgrade will not work. However, Microsoft warns against doing this because it can brick the system. Thus, you must ensure that there is an effective backup for all software, data, as well as hardware, before proceeding. Nevertheless, after bypassing the security checks you will still need to have a 64-bit CPU else you cant install Win11.
Using Windows 11 on unsupported hardware
This method of upgrading does not require TPM thus it will be good for older devices that lack TPM. However, you may have to prepare for some irregularities.
- This system is a watered-down version of Win11
- It lacks the full Windows 11 package.
- It may not have some really important and mostly current/new features
- As earlier stated, it will not get any maintenance. That is, there will be no Windows update

