Beta Software updates have gotten really popular amongst smartphone users lately. It feels quite good to be part of the first users of a major software update. You feel like you are living in the future or you are even leading a whole pack of wolves. But when all don’t go well after upgrading, you quickly want to downgrade your iPhone from the Beta to Previous Version. For the purpose of this article, we will focus on downgrading iOS from any Beta Version to the previous Version.
Mind you, this article is not trying to be discriminatory to the Android OS. The thing about Beta upgrade is that, it is most popular amongst iOS user. Most of the Beta upgrade issues also have associations with iOS. Another reason is that, downgrading from iOS Beta can be more of a trouble than Android OS. You can even brick your iPhone or end up loosing all your data in the name of Beta update.
Also take note you can use this same method to safely upgrade your device if you don’t want to face any issues with the update process.

Why Software Updates Are Important
Because of update related issues, a lot of smartphone users don’t really care about update even when they pop up on their smartphones. If you are one of such people, I advise you change your mindset about software updates as soon as possible.
You know, apart from the fact that updates are meant to enhance the flexibility of your smartphone, enhance camera features, fix software bugs or make the system UI look more beautiful, software updates fix a lot of security flaws within your smartphone’s Operating System as well. Now that you know how important it is, I guess you will begin taking software updates seriously.
Disclaimer
This article is for educational purposes only. As safe as I know this method to be, you however use it at your own risk. Gizchina would not take any blame for loss of data or damage caused to your iOS device by following this method. We also advise that you successfully use this method on your own phone before using it on someone else’s phone. However, if you carefully follow this method step by step, we guarantee that you should be a master of this art in a matter of days.
What You Need In Order To Downgrade Your iOS from Beta To The Previous Version
- You first need to have a desktop computer or a laptop. But I recommend using a laptop that has a good battery life. You can still go ahead and use a desktop computer if that is all you have. Just have to be sure that you have a consistent electric power.
- Secondly, you need an original Apple lightening cable. You will need either the USB to lightening or the Type-C to lightening cable depending on the port type your computer or MacBook uses.
- You will then go ahead and download the software required for this process from here
- You also need to download the firmware for your iOS device from here
Now Let Us Begin To Downgrade Your iPhone From Beta To The Previous OS
Note that this method works for upgrading your device as well. You can also use this same method to fix your bricked iPhone in case of OTA (Over The Air) Update failure.
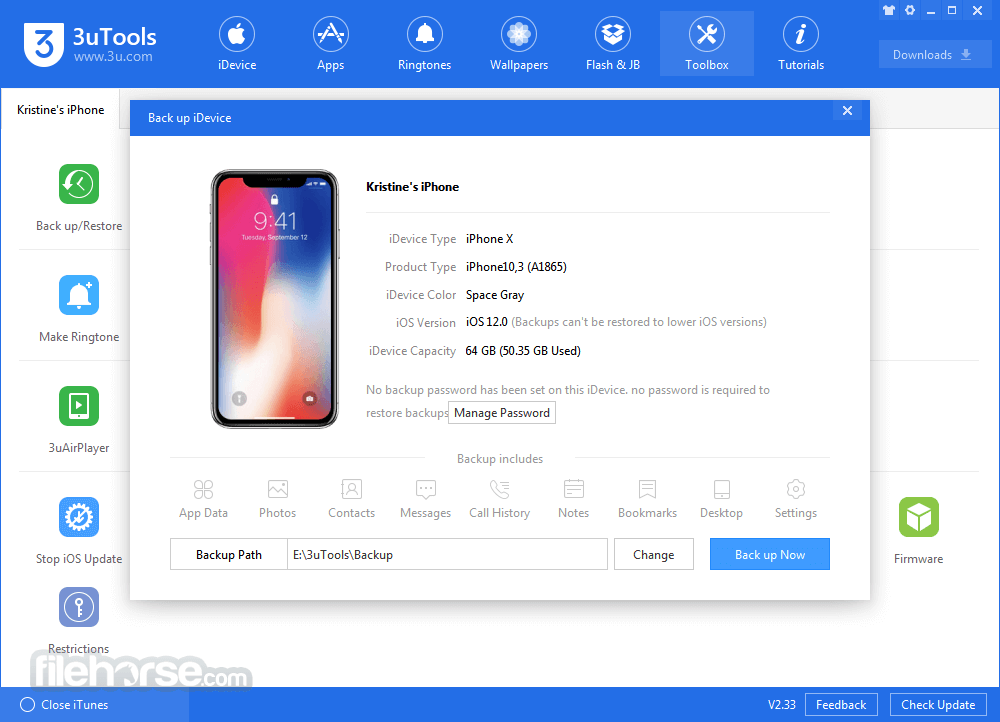
First thing to do is to install the software you downloaded earlier. Open the software and connect your iPhone via the lightening cable. You should see something like the image below if you did everything right.

From the menu buttons at the top panel, click on the ‘Flash & JB’ button. This should take you to the flash page. On the flash page, you will see a list of software versions the are currently signed for your phone. You will also see two buttons ‘Download button and import button on the right side of the list.
Now look at the last one on the list and compare it to the firmware file you downloaded. If your device is an iPhone 12 Pro Max for example, you should see something like iPhone 13.4 with some alphanumeric next to it. Now you click import and navigate to where you saved the firmware. Click on the required file and select ‘Ok’ button to import the firmware into the 3utools software.
Pay Extra Attention Here
Now the next step is where you should be very careful in order to keep your data safe. Especially if you are only downgrading or upgrading. At the very button of the 3utools software, you should see about three or 4 buttons depending on the version you are using. (Don’t worry about which version you are using. They all work fine).
On the three horizontally lined up option buttons, you are supposed to select one of them depending on whether you want to save your data or you don’t mind losing all data due to a bricked device or any other reason you may have. One button is labeled ‘Quick Flash’ if you select this button, it means you are ready to lose all data. This method clears everything you have on your device so you must decide well before going ahead.

The next bottom is labeled ‘Retain User’s Data’. For the purpose of this article, this is what we will be using. It is still the same method for those who have bricked their devices. The only difference here is whether you are willing to lose data or not. So we will go ahead and select the ‘Retain User’s Data’ option and put the iPhone into recovery mode.

To boot an iPhone in recovery mode you need to follow this step carefully.
How To Boot iPhone In Recovery Mode
This method is quite different for some models of iPhones. From the iPhone 8 series to the latest iPhone we have now, (iPhone 13 series) at the time of writing this article. You need to press these keys in the following order.
First press the Volume Up key and release.
Press the Volume Down key and release
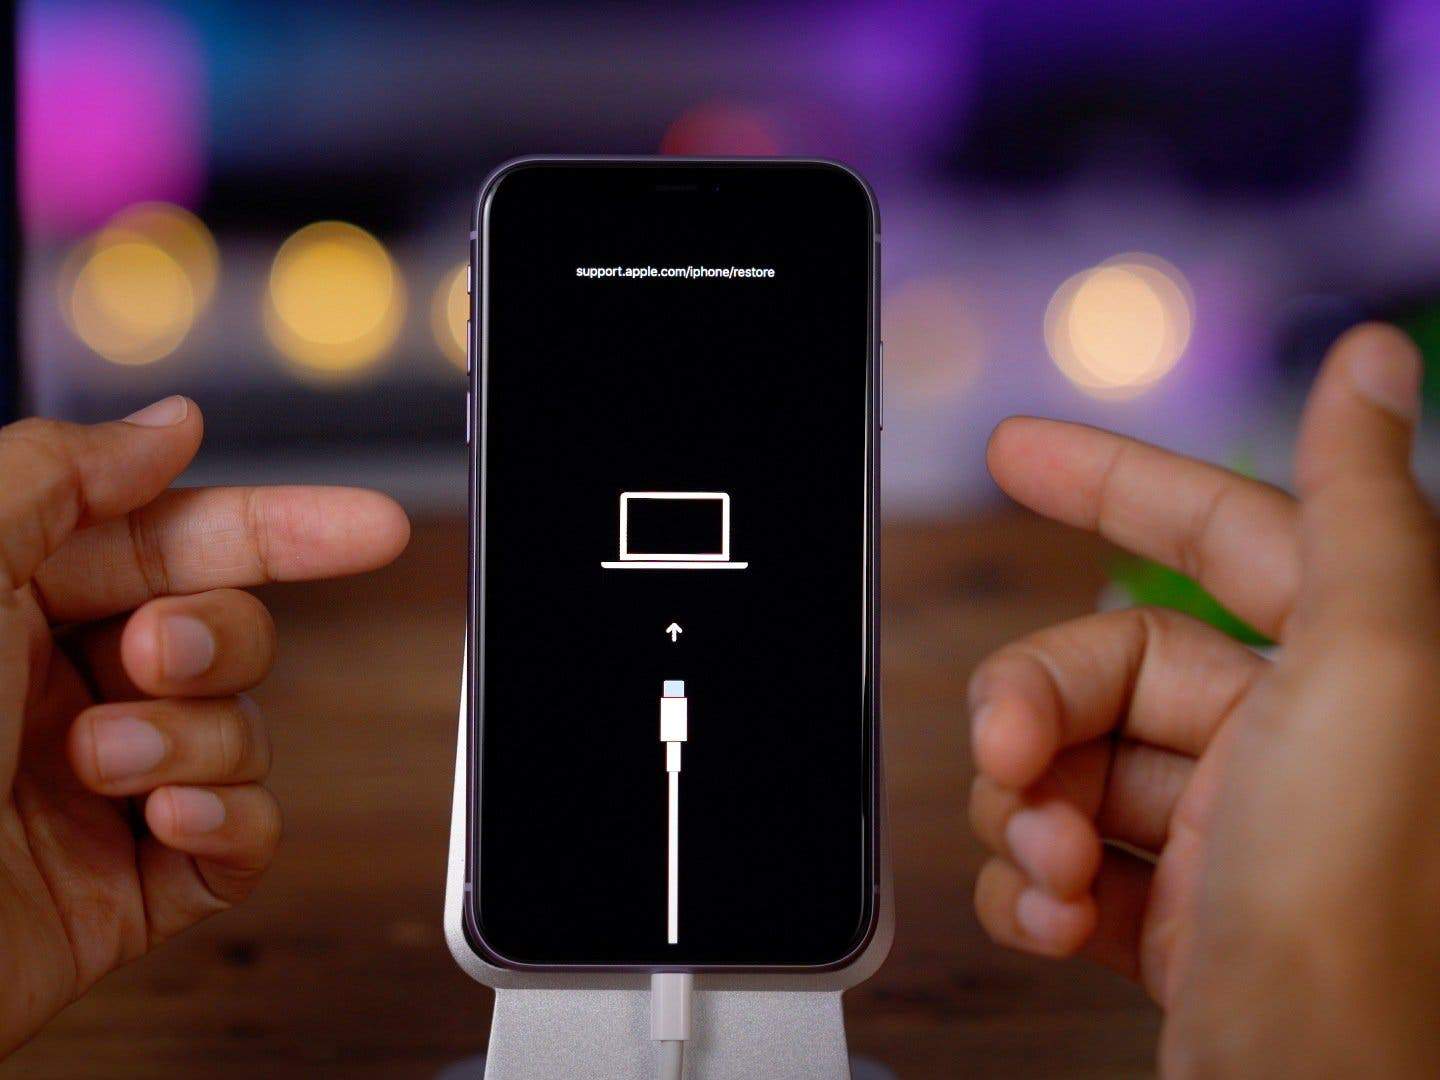
Then press the Power button and hold until you see the recovery screen. Note, you may have to hold the power button for about 7 to 10 seconds.
If your phone is an older iPhone, you need to follow this steps to boot your iPhone into recovery mode.
First turn of your iPhone.
Press and hold the home key
Then connect your USB cable to the iPhone while still holding the home key.
Your iPhone should boot in recovery mode in about 7 seconds time.

Ones this is done, it is time to connect your iPhone and start your flashing process. After connecting the device to the computer, just click on the ‘Flash’ button and let your computer and the software do the rest. This process takes about 15 to 20 minutes to complete. At some point, it may act like it is not moving but don’t panic. It will eventually move and complete the process. Ones it is done, you should see ‘Congratulations’ on the screen of your computer. Your iPhone will then restart.
If you have been able to do this, congrats! For downgrading your iPhone from Beta to The previous version. In case of any difficulties encountered in the process, just leave it in the comment section and I will be glad to be of assistance to you.


