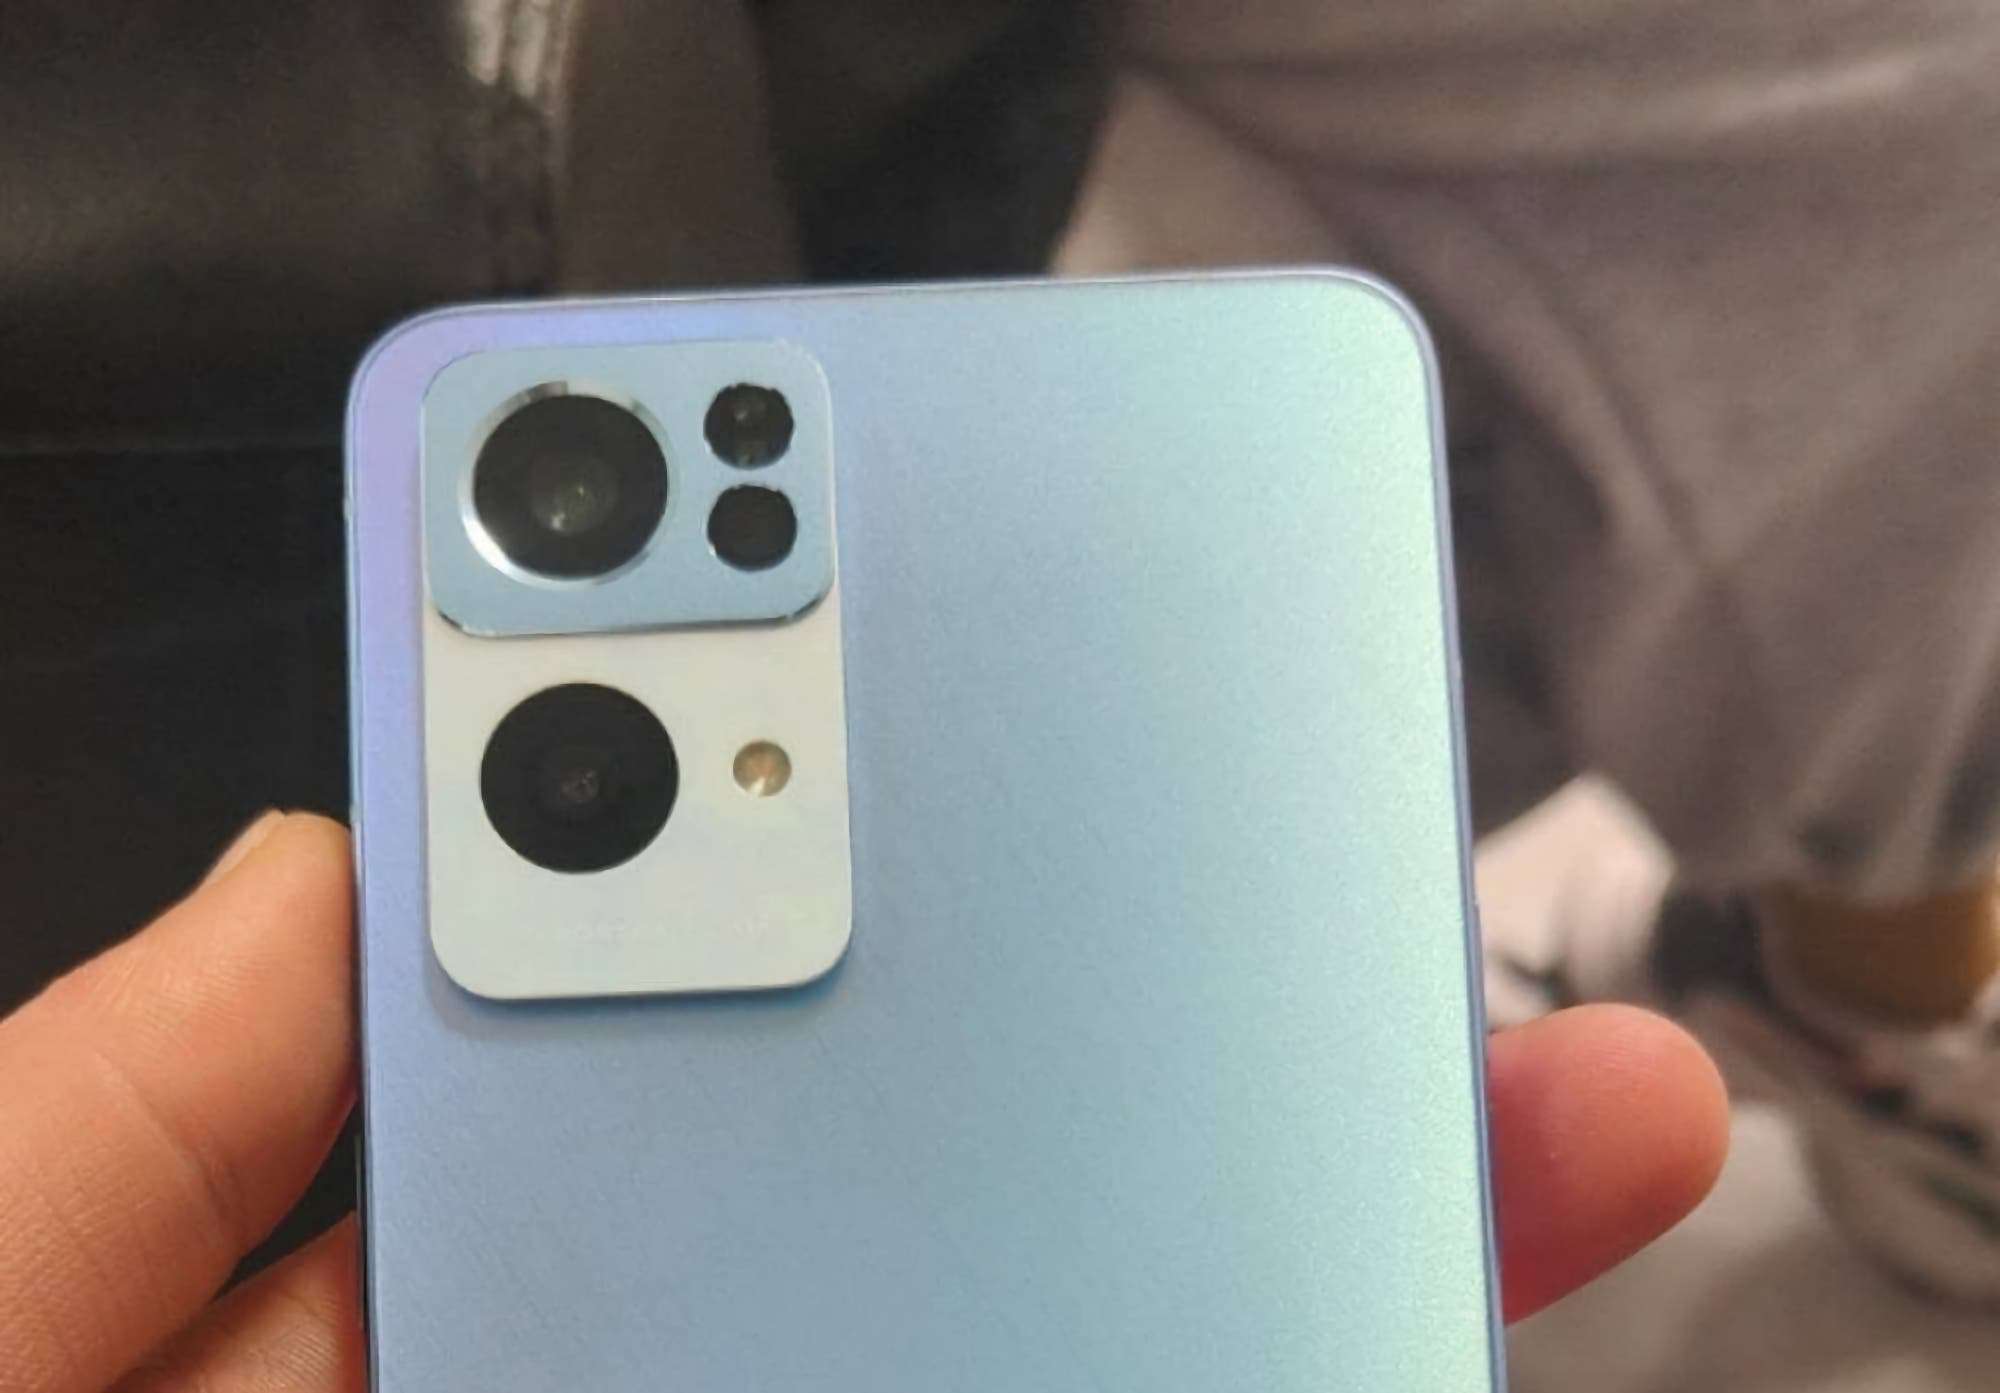
Capturing stunning photos doesn’t always require an expensive high-end phone equipped with top-notch cameras, except for a few exceptional cases. In reality, most individuals opt for phones priced under $300, which may not offer cutting-edge optics. However, this doesn’t mean you can’t produce impressive photographs. Unless you require professional-grade images, these affordable phones are still more than sufficient. Beyond the allure of higher megapixel counts, which have long been used as a marketing tactic, we now understand that more megapixels don’t necessarily equate to better quality. By implementing some simple techniques and adjusting the appropriate settings, you can capture more than decent photos using your basic phone.
Tips for taking good pictures using basic phones

Clean the lenses
Maintaining clean lenses may seem like an obvious step, but it’s crucial to ensure optimal photo quality. It’s not uncommon to overlook this aspect, and I’ve personally experienced it more than once. Discovering later that my photos were affected by specks or blurriness due to dirt on the lens can be quite frustrating.
Cleaning the lenses of your phone is a simple task that shouldn’t be neglected. Over time, dust and dirt tend to accumulate on the camera’s surface. To prevent this from impacting your photos, it’s important to regularly wipe the lenses with a microfiber cloth. The cloth provides enough friction to remove the dirt without causing damage or leaving any debris behind.
If you find that a dry cloth is not sufficient, you can use a small amount of isopropyl alcohol. This alcohol evaporates quickly, minimizing the risk of it seeping into the device. When using isopropyl alcohol, apply it to the microfiber cloth first and then gently clean the lenses.
By incorporating lens cleaning into your routine, you can ensure that your phone’s camera captures sharp and clear images. It’s a small but significant step that can make a noticeable difference in the quality of your photos. Don’t underestimate the power of a clean lens when it comes to capturing those special moments with your phone.
Use natural light
While camera exposure and flash can certainly contribute to brightening images, their primary role is to complement and enhance the existing ambient light, rather than replacing it entirely. In most cases, natural light remains the ideal source for capturing stunning photographs. However, it’s important to acknowledge that the quality and characteristics of natural light can vary, and as photographers, we can adapt to these conditions to achieve the desired results.
To capture warm sunlight, schedule sessions near sunset or sunrise. It creates a magical glow and captivating silhouettes. Midday light is bright with harsh shadows, but great for landscapes and nature with cloud diffusion.
Another opportune moment for photography is during the blue hour or twilight. This period typically occurs 20 to 30 minutes after sunset or just before sunrise. The blue hour produces a serene and ethereal ambiance, characterized by cool blue tones. This lighting is particularly enchanting when photographing urban landscapes, adding a touch of mystique to the scene.
Master the use of the flash
It’s essential to be cautious when using the flash feature on your camera. The purpose of the flash is to supplement the existing ambient light, allowing you to achieve specific effects or create contrast by emphasizing dark areas. In situations where the lighting conditions are poor, and the subject is in close proximity, the flash can even serve as the main light source. However, it’s generally advisable to avoid using the flash unless necessary.
One key consideration is that when the flash is activated, it directly illuminates the subject. This results in forceful lighting, with overly bright areas on the subject and a darkened background. While this effect can be desirable for certain creative purposes or when trying to highlight specific details, it’s not suitable for every situation. In fact, using the flash indiscriminately can lead to unflattering and unnatural-looking photos.
To capture more natural and balanced images, it’s often best to rely on the available ambient light or explore alternative lighting techniques. Natural light offers a softer and more diffused illumination that can enhance the overall quality of your photos. By utilizing techniques such as adjusting your exposure settings, positioning your subject strategically, or using reflectors, you can achieve well lit images without relying heavily on the flash.

The camera app is very important
Phones priced under $200 now have features once exclusive to high-end devices. Your modest phone showcases advancements in mobile photography. Affordable options include multiple lenses and useful camera applications. Let’s examine the Xiaomi Redmi Note 11 interface, a prime example of budget-friendly phone possibilities.
Within the interface of the Xiaomi Redmi Note 11, you’ll find a host of features that cater to your photography needs. Despite its affordability, this device is equipped with multiple lenses, allowing you to explore various photographic possibilities. Whether you’re capturing a picturesque landscape, a group photo with friends, or a stunning portrait, the Redmi Note 11 has you covered.
The camera application on this device offers a range of shooting modes to suit different scenarios. For instance, the timer function enables you to include yourself in group photos by providing a brief delay before the shutter is released. This ensures everyone is ready and positioned correctly before the photo is taken. Night modes have also become increasingly prevalent in budget friendly phones, allowing you to capture well-lit images even in low-light conditions. These modes optimize the camera settings to capture more light, resulting in brighter and more detailed photos.
If you’re looking to capture breathtaking vistas or expansive scenes, the panorama mode is an excellent feature to utilize. This mode stitches multiple images together, allowing you to capture a wider field of view in a single photo. Additionally, the Redmi Note 11 boasts a portrait mode, which creates a pleasing depth-of-field effect, blurring the background and keeping the subject in focus. This mode is ideal for capturing stunning portraits, emphasizing the beauty and expression of your subjects.
While budget friendly phones may not offer the same extensive array of features as their high-end counterparts, they have come a long way in terms of functionality. These devices provide a gateway to the world of mobile photography, allowing users to explore their creativity and capture impressive images without breaking the bank.
Manual focus is better sometimes
When using the camera app on your phone, you have the ability to touch a specific point on the screen. Prompting the camera lens to focus on that area. This simple adjustment can significantly improve the autofocus of your camera in most cases. Ensuring that your desired subject is sharp and clear.
While autofocus is generally a blessing, there are instances where it may become a hindrance. The autofocus feature tends to prioritize areas of high contrast, which means that if your intended subject is not within those areas, the camera’s sensor may not give it the desired focus or importance. This is where manual focus comes into play, allowing you to take control and precisely define the focal point. Manual focus becomes especially valuable when photographing moving objects, as you can ensure that the lens focuses exactly where you want it to.
In addition to manual focus, you also have the option to adjust the exposure settings of your camera. But what exactly is exposure? In simple terms, exposure refers to the amount of light that enters the camera’s sensor. Increasing the exposure allows more light to reach the sensor, resulting in brighter photos (though it does come with the risk of overexposure). Overexposure occurs when the white parts of a photo become too bright, leading to a loss of detail in those areas.
It’s important to note that adjusting exposure works best in well lit conditions, such as during the day when you want to add some brightness to your images. However, in low light situations, increasing exposure can lead to grainy or noisy photos, compromising the overall quality.
By mastering the art of manual focus and understanding how exposure impacts your photos, you can elevate your phone photography to new heights. Take advantage of the control these features offer, allowing you to capture precisely what you envision. Experiment with manual focus to ensure that your subjects are tack sharp, and be mindful of exposure adjustments to achieve the desired level of brightness without sacrificing image quality.
As with any skill, practice makes perfect. Take the time to familiarize yourself with your phone’s camera app and its manual focus and exposure settings. Explore different lighting conditions and subjects, experimenting with these features to find the perfect balance. With dedication and a keen eye, you’ll soon find yourself capturing breathtaking images with your phone, all thanks to the power of manual focus and exposure control.
Unlock the power of Zoom
Flagship phones impress with optical zoom and digital magnification. Modest phones lack these features or compromise image sharpness. When you use optical zoom, the lens physically adjusts its focal length to bring the subject closer. This method of zooming maintains image quality and allows for detailed and clear magnification. However, in budget-friendly phones, the absence of a dedicated optical zoom lens means relying solely on digital zoom.
Digital zoom, on the other hand, does not involve any physical adjustment of the lens. Instead, it relies on software processing to magnify the image digitally. While this can provide the illusion of getting closer to the subject, it often leads to a loss of image quality. As you increase the zoom level, the lens crops the image, enlarging it but sacrificing sharpness in the process. This can result in pixelation and blurriness, ultimately detracting from the overall image quality.
In situations where you need to zoom in on a subject, you have a couple of options. Firstly, if possible, physically move closer to the subject and capture the photo from a closer distance. This approach solves the problem by allowing the lens to capture the subject without relying heavily on digital zoom. By minimizing the reliance on digital zoom, you can maintain the image’s sharpness and clarity.
However, there may be instances where getting physically closer to the subject is not feasible or practical. In such cases, you can capture the photo from a distance and then crop it during post-processing. By cropping the image yourself, you have more control over the composition and can minimize the loss of quality that often occurs with excessive digital zoom.
It’s crucial to remember that while digital zoom can be useful in certain situations, it’s best to use it sparingly and only when absolutely necessary. Whenever possible, opt for optical zoom or physically getting closer to the subject for the highest quality results.

Use the grid
Gridlines, also known as grid or guide lines, consist of a combination of vertical and horizontal lines that serve two essential purposes. Firstly, they help ensure that the elements you capture in your photos remain straight and aligned. Secondly, they assist you in achieving a balanced composition that is visually pleasing to the viewer. By utilizing gridlines, you can save time and effort in post processing by reducing the need for rotation and cropping adjustments.
One valuable technique that gridlines enable you to apply is the rule of thirds. This rule suggests that the focal point or main subject of your photograph should be placed at the intersection of the imaginary lines that divide the image into three equal parts both vertically and horizontally. This creates a visually appealing composition that draws the viewer’s attention to the center of interest.
The rule of thirds is not limited to a specific genre of photography. It can be applied in various contexts, including landscape, nature, and even portrait photography. By using the gridlines and adhering to the rule of thirds, you can bring a sense of balance and visual harmony to your compositions.
When framing your shot, imagine the gridlines dividing your viewfinder or screen into nine equal sections, with the intersection points forming the prime spots for placing your subject. By aligning key elements along these lines, you can create a dynamic and engaging composition that captures the viewer’s attention.
Keep in mind that the rule of thirds is a guideline rather than a strict rule. Composition provides a foundation for appealing photos, but don’t fear experimentation and deviation. Photography is an art that encourages creativity and personal expression. Explore diverse compositions and perspectives for unique and captivating images.
Gridlines are valuable for improving photography skills. They enhance visual impact and create balanced compositions. Activate gridlines to explore possibilities of straightness, composition, and artistic vision. Don’t forget to use them next time you shoot!
Explore the Aspect Ratio Option
When you use the camera app, you have the ability to play with the aspect ratio. These ratios determine the size of your photos. The first number indicates the width, while the second represents the height. By default, the app employs a ratio of 9:16. It is a vertical form of the commonly seen 16:9 aspect ratio on monitors, TVs, and computers. This ratio is considered ideal for capturing photos and videos on your phone.
However, there is another aspect ratio to consider: 4:3 or 3:4. This ratio utilizes the entire rectangular area of the camera sensor, maximizing the number of pixels used. It is particularly beneficial for mobile photography if you plan on printing the images later. Keep in mind that although this ratio may appear smaller, it offers advantages such as preserving image quality and avoiding loss of features like zoom or burst mode.
Unlock the Power of RAW Format
For better results, consider using the RAW format for your photos. RAW files are designed to preserve the original details, colors, tones, brightness, sharpness, and contrast of your camera shots. Unlike JPEGs, which are compressed by your phone automatically, RAW files retain the highest quality without any loss. This format is particularly advantageous if you plan to edit the images later. Allowing you greater flexibility and control over the final result.
However, it’s important to note that RAW files occupy more storage space compared to JPEGs. This may pose a challenge if your phone has limited storage capacity. Additionally, to shoot in RAW format, your phone needs to support the Camera2 API. It is already supported by most Android smartphones. If you own an iPhone 12 Pro or a newer model with iOS version 14.3, you can capture images in ProRAW format. Although this indicates a departure from a basic phone with modest photographic capabilities.
Verdict
High-end phones with great cameras have advantages in photography. But budget friendly devices can still deliver excellent results. Tips like cleaning lenses, using natural light, avoiding excessive zoom, and more can enhance your basic phone’s photography. By following these tips, you can capture stunning images like those taken with expensive devices.

