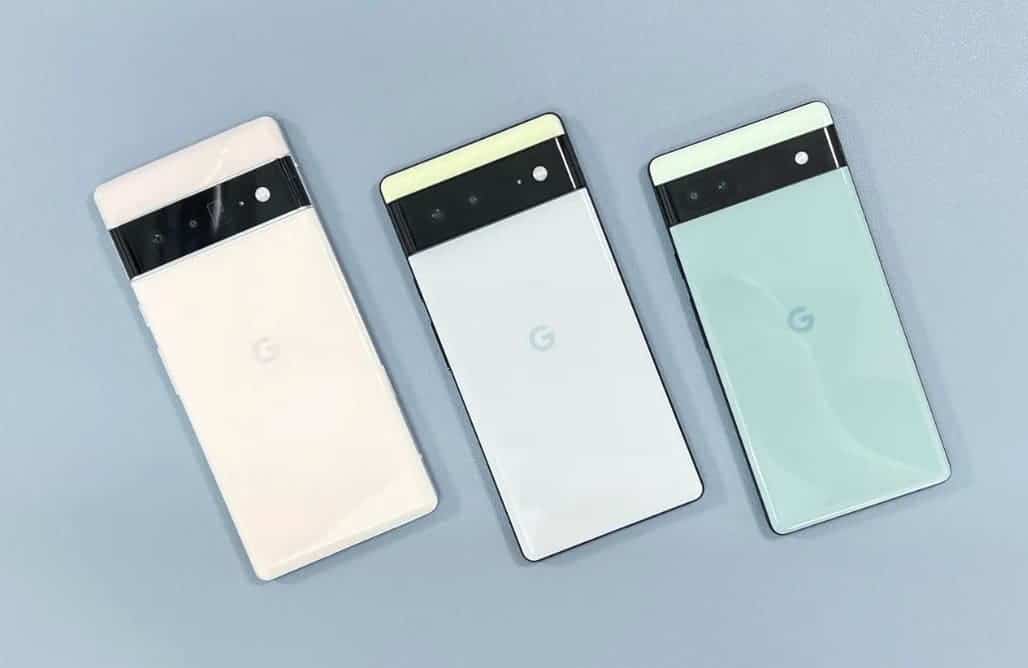
Google Pixel mobile phones remain one of the best in terms of picture quality and the same goes for its screenshots. If you have a Google Pixel 6 or Pixel 6 Pro, then you should know all the basics by now. However, if you are just getting one, then this guide will walk you through the different ways to capture a good screenshot. Taking screenshots is a useful feature that allows you to capture and save an image of your phone’s screen. The Google Pixel 6 series offers several ways to take screenshots, including using physical buttons, Google Assistant, and Quick Tap. Here’s how to take screenshots on the Google Pixel 6 series:

1. Using Physical Buttons
The simplest way to take a screenshot on the Pixel 6 series is by using the physical buttons. Here’s how:
1. Navigate to the content you wish to capture.
2. Press and hold the Power and Volume down keys simultaneously.
3. Let go of the buttons once you see the screen flash.
You’ll see a notification that the screenshot was captured, and you can access it by swiping down from the top of the screen and tapping on the notification.
2. Using Google Assistant
You can also use Google Assistant to take a screenshot on the Pixel 6 series. Here’s how:
1. Activate Google Assistant by saying, “Hey Google.”
2. Once the Assistant is awake, say, “Take a screenshot.”
3. Google Assistant will take a screenshot and send a push notification to your Pixel 6 to let you know it’s completed the task.
Unlike taking a screenshot with the physical buttons, this method doesn’t bring up the screenshot window at the bottom after taking the screenshot.
3. Using Quick Tap
Quick Tap is a feature that allows you to take screenshots without using physical buttons. Here’s how to enable it:
1. Go to Settings > System > Gestures > Quick Tap.
2. Select Quick Tap and enable it.
3. Adjust the settings to take screenshots from the list.
Once you’ve enabled Quick Tap, you can take a screenshot by double-tapping the back of your phone. This is probably the fastest way to take a screenshot on the Pixel 6 series.
4. Taking a Scrolling Screenshot
The methods above give you how to take a screenshot of the screen content at any point in time. However, if you want a screenshot of say an entire webpage where some all the content can not fit on the screen at the same time, then what you need is a scrolling screenshot. To take a scrolling screenshot on the Google Pixel 6 series, you can follow these steps:
1. Press and hold the Power and Volume Down buttons simultaneously to take a regular screenshot.
2. Once the screenshot is captured, a preview will appear at the bottom left of the screen.
3. Tap on “Capture more” at the bottom of the screen.
4. Use the crop guidelines to select the content you want to capture.
5. Once you’ve selected the desired content, the scrolling screenshot will be captured and saved.
Notably, if you don’t see the Capture more button, the app doesn’t support scrolling screenshots, and you won’t be able to grab content beyond that visible on the display.
Alternatively, if the above method doesn’t work on your Pixel smartphone running on Android 11 or lower, you can use a dedicated screenshot app to take scrolling screenshots on your phone.
Please note that not all apps support scrolling screenshots, so if you don’t see the “Capture more” button, it means the app doesn’t support this feature.
Taking screenshots can be a useful way to capture information or images on your phone. If you have a Google Pixel 6 series phone, you may be wondering where your screenshots are stored. Here’s what you need to know:
Where are my screenshots stored?
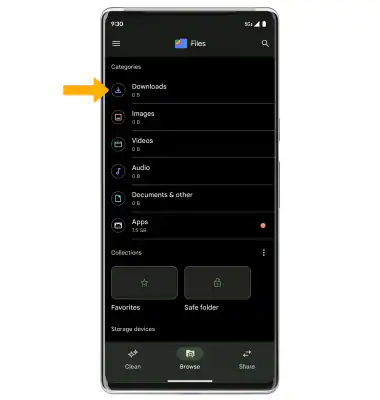
Screenshots taken on the Pixel 6 series are stored locally on the phone. By default, all screenshots are saved to the “Screenshots” folder in the Google Photos app. You can also find them in the Gallery app by selecting Menu > Album view and looking for the “Screenshot” folder. If you have recently performed a factory reset on your phone, you may not be able to find your screenshots. In this case, you can try looking in the Internal Storage> Pictures > Screenshots folder. Once you have found your screenshots, you can edit and share them as needed directly from the Photos app.

How to access the screenshots
To access the Screenshots folder on your Pixel 6 series, you can follow these steps:
1. Open the Google Photos app on your phone.
2. Tap on the “Library” option located in the bottom right corner of the screen.
3. Look for the “Screenshots” folder below the “Photos on device” section.
4. Tap on the “Screenshots” folder to access all your screenshots.
Alternatively, you can also try the following method:
1. Open the Gallery app on your Pixel 6 series phone.
2. Tap on the menu icon (three lines) located in the top left corner.
3. Select “Albums” from the menu options.
4. Look for the “Screenshot” folder within the albums.
By following these steps, you should be able to access the Screenshots folder on your Pixel 6 series phone and view all your captured screenshots.

Final Words
In conclusion, taking screenshots on the Google Pixel 6 series is easy and straightforward. Whether you prefer using physical buttons, Google Assistant, or Quick Tap, you can capture and save an image of your phone’s screen in just a few steps. All screenshots are saved to your phone and can be viewed in the Google Photos app or the Gallery app.


