If you enjoy playing games on your PC, whether you’re a casual gamer or a serious one, there are some settings you can adjust in Windows 11 to make sure your computer is optimized for gaming.
Windows 11 is a fantastic operating system for getting work done with features like Snap Layouts, Android app support, and Windows Subsystem for Linux (WSL). However, if you’re planning to use your PC for gaming, there are some adjustments you can make to enhance your gaming experience. These include enabling Windows 11’s Game Mode for improved gaming performance, fine-tuning security settings to free up CPU and RAM resources, and various other optimizations.
Activate Gaming Mode
To optimize Windows 11 for gaming, it’s a good idea to enable the dedicated Game Mode. Game Mode is designed to enhance the gaming experience by prioritizing gaming processes and minimizing background tasks that could consume system resources. By enabling Game Mode, you can help achieve smoother gameplay and more stable frame rates. Here’s how to turn on Game Mode in Windows 11:
1. Open the Windows Settings app. You can do this by clicking the Start button and then selecting the gear-shaped Settings icon, or you can press the Win + I key together.
2. In the Settings window, click on “Gaming.”
3. In the left sidebar, select “Game Mode.”
4. On the right side, toggle the switch under “Use Game Mode” to the on position.
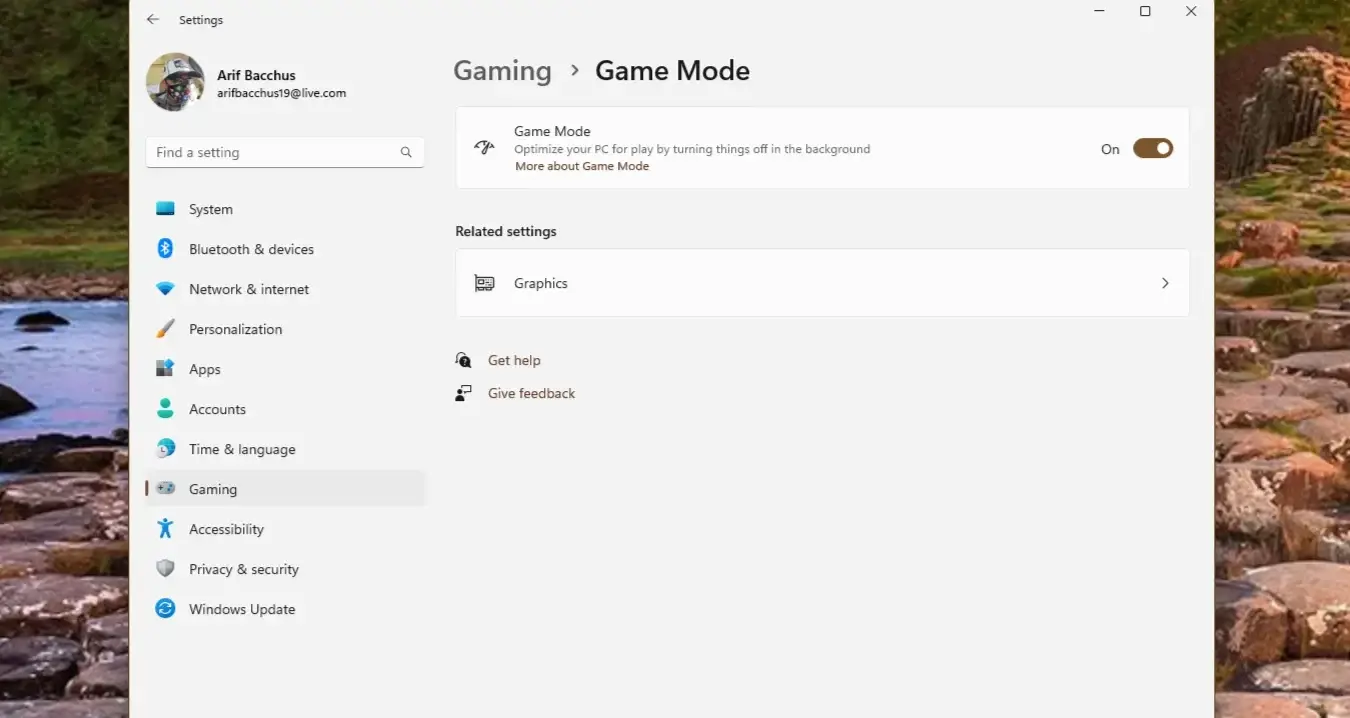
Once Game Mode is enabled, it will prioritize your gaming experience and provide better system performance while gaming. You can then launch your games and enjoy improved gaming performance.
Keep in mind that Game Mode may not significantly impact the performance of all games, but it’s a valuable feature to have enabled, especially for resource-intensive titles.
Make Changes to Security Settings in Windows 11
In Windows 11, certain security measures are in place to protect your system from threats like malware. While these security features are essential for overall system safety, they may consume CPU power and system resources, potentially affecting gaming performance. If you want to prioritize gaming performance temporarily, you can adjust the Memory Integrity and Virtual Machine Platform settings. Here’s how to do it:
- Press the Windows key and letter “I” together to open Windows Settings. (Win + I).
- Search for Core Isolation and toggle off the switch to turn it off.
- Restart your PC.
- Click on the Windows start button and search for Windows Features.
- Look for Virtual Machine Platform and uncheck it.
- Click Ok and wait for the system to apply your changes and restart your PC.
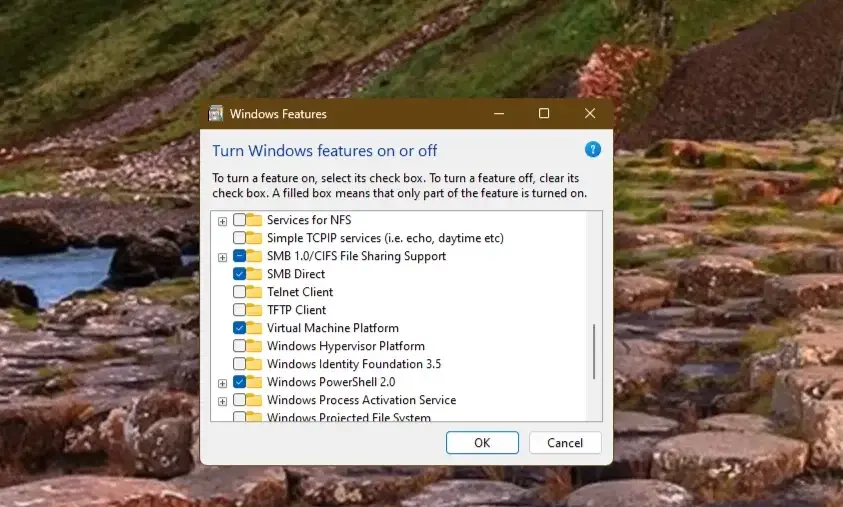
Image Source: XDA-Developers
Please note that adjusting these settings may affect system security temporarily. It’s recommended to revert to the default settings once you’re done gaming to ensure your system remains protected.
Keep in mind that Windows 11’s security features are designed to safeguard your system, so use this optimization method only when gaming and revert to the default settings for regular use.
Make Changes to the Display and Graphics Settings (Windows 11 Optimization) 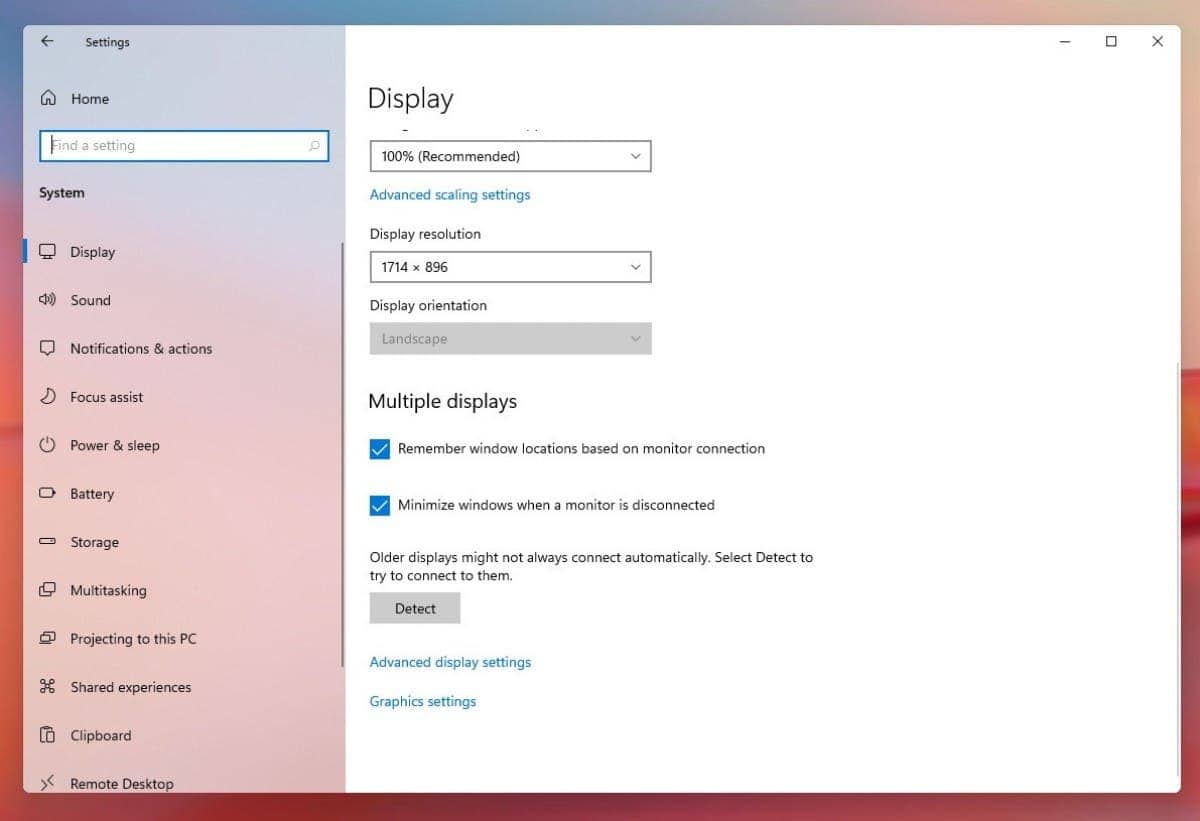
To optimize Windows 11 for gaming, you can adjust various graphical settings, including display settings and GPU settings. Here’s how to do it:
1. Display Settings
– Right-click on the desktop and select “Display settings.”
– Under the “Scale and layout” section, ensure that the display resolution is set to the recommended or native resolution for your monitor. Higher resolutions provide better image quality but may require more GPU power.
– Scroll down to the “Advanced display settings” and select the highest available refresh rate for your monitor. A higher refresh rate results in smoother gameplay, especially for fast-paced games.
– Click on “Graphics settings” to access additional display options.
– In the Graphics settings, make sure that the “Hardware-accelerated GPU scheduling” option is enabled. This setting can improve GPU performance and responsiveness.
2. GPU Settings
– Open the NVIDIA Control Panel or AMD Radeon Software, depending on your graphics card.
For NVIDIA graphics cards:
– Right-click on the desktop and select “NVIDIA Control Panel.”
– Under “3D Settings,” click on “Manage 3D settings.”
– In the “Global Settings” tab, select “High-performance NVIDIA processor” as the preferred graphics processor. This ensures that games use the dedicated GPU.
For AMD graphics cards:
– Right-click on the desktop and select “AMD Radeon Software.”
– In the Radeon Software, go to “Gaming” and select “Global Graphics.”
– Set the “Graphics Profile” to “Gaming” or “Standard.”
Keep your graphics card drivers up to date. Both NVIDIA and AMD release regular driver updates that can enhance compatibility and performance with new game releases.
Optimizing display and GPU settings can significantly improve your gaming experience on Windows 11. Adjust these settings according to your preferences and the capabilities of your hardware to achieve the best balance between performance and visual quality.
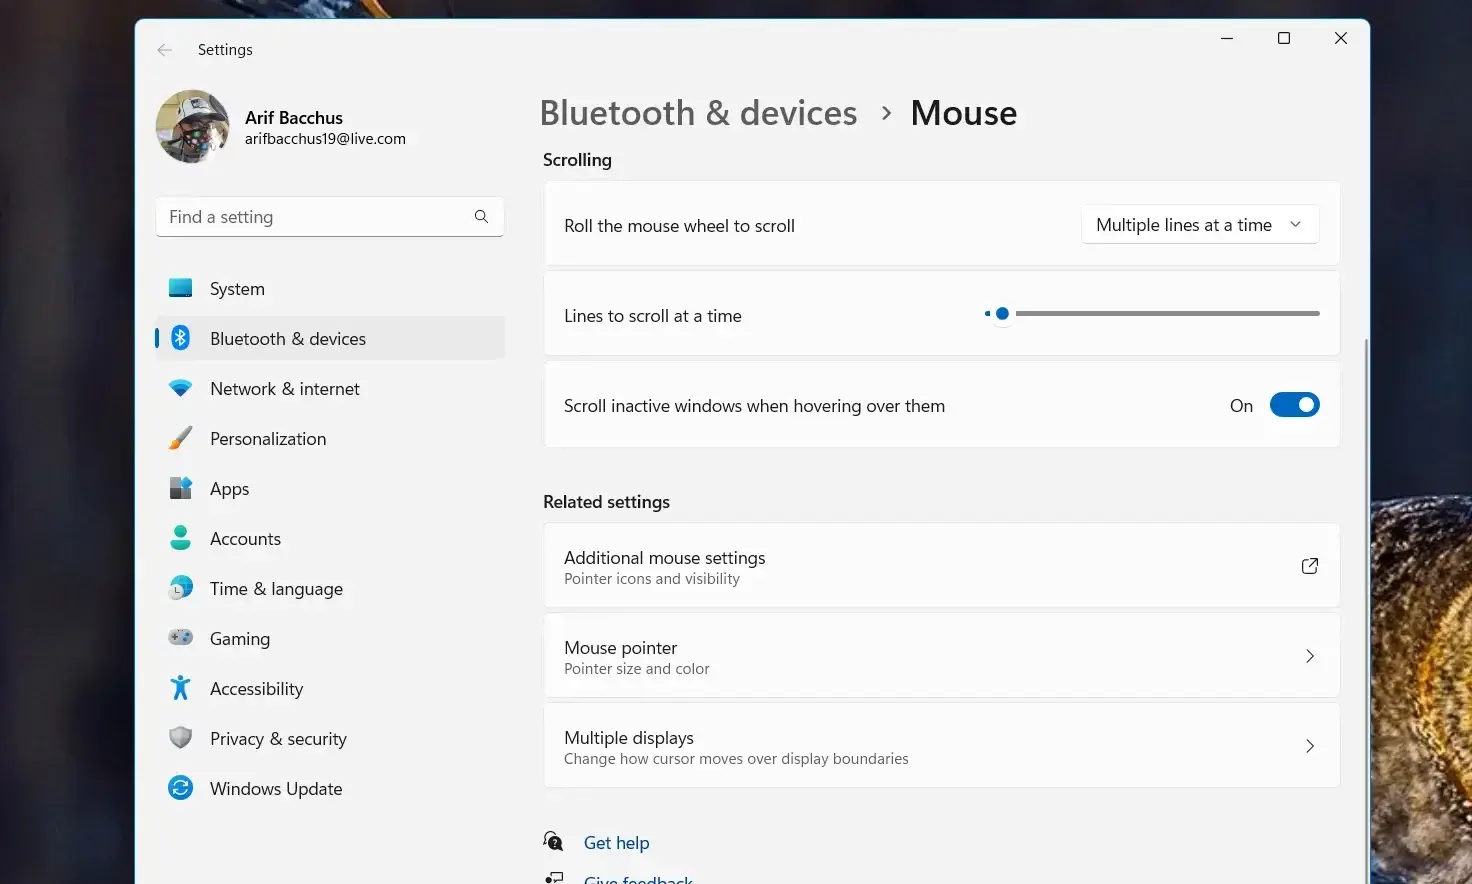
Turn Enhance Pointer Precision Off
The last tip we want to cover is one that can improve the accuracy of your mouse. We suggest turning off Enhanced Pointer Precision. When you turn off this feature, you’ll get more out of games that typically have settings that already improve your mouse movement. Here’s what you’ll have to do.

