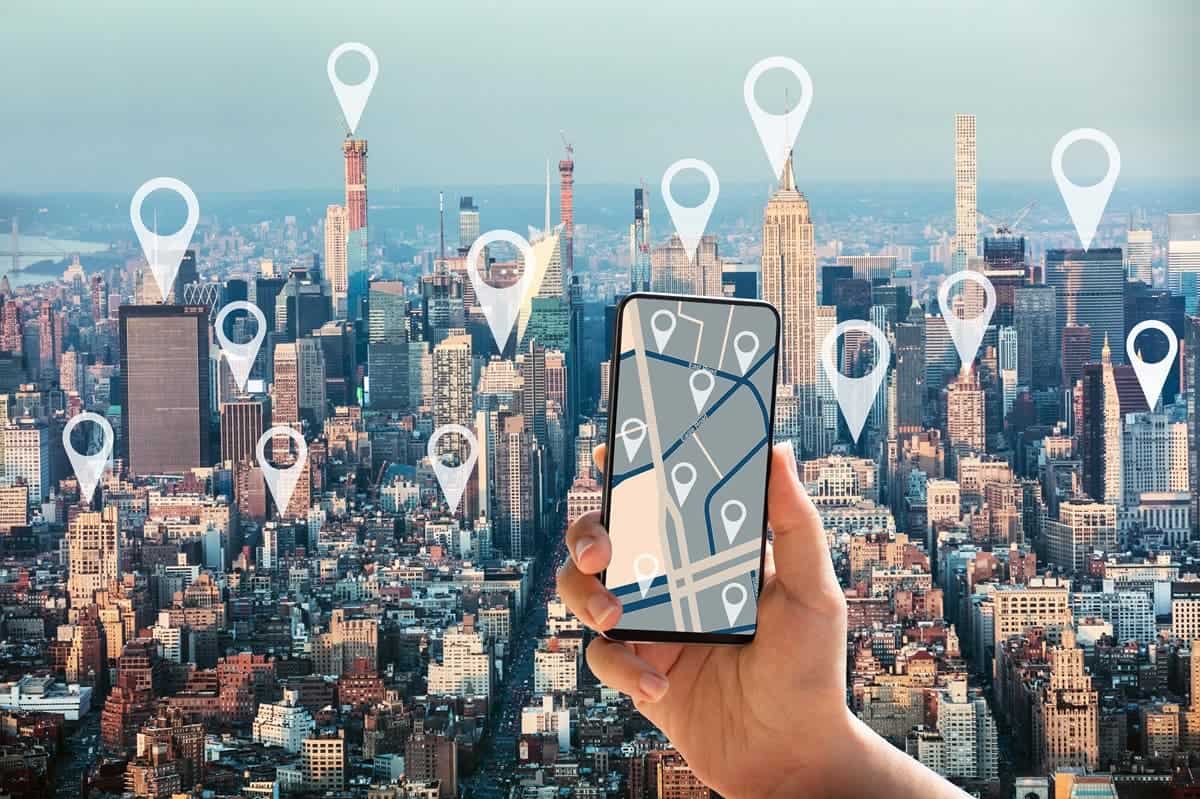
Do you often find yourself scrolling through your photo gallery, wondering where that breathtaking sunset or memorable moment was captured? Android smartphones provide a simple solution – photo geofencing. Whether you’re a globetrotter or just want to reminisce about your favorite spots, enabling this feature is a breeze. In this article, we’ll walk you through the steps to turn photo geofencing on or off on your Android device.
Capture the Moment: A Quick Guide to Photo Geofencing on Android
Before you embark on the geotagging journey, ensure your GPS is switched on. This might seem like a no-brainer, but geolocation won’t function without GPS. Head to the shortcut pane at the top of your screen and click on the GPS icon if it’s not already activate.
The approach to enabling geofencing may vary slightly among different Android manufacturers, but the fundamental steps remain consistent. Navigate to your camera settings, where you’ll find the geolocation option. Samsung users should activate the “location tags” option, while OnePlus enthusiasts can enable “Store geolocation data.” Google Pixel users need to select the “Save location” option, and Xiaomi employs the term “Save geolocation information.” Regardless of your device, the key is to locate and activate this feature within your camera settings.
Curious if it’s working properly? After configuring your preferences, take a photo as you normally would and open your photo gallery. While our example uses a Samsung smartphone, the process is analogous for other manufacturers.
Click on “details” in the photo drop-down menu, and you’ll find a map displaying the photo’s capture location. Some mapping features may even suggest an address automatically. Now, every photo you take will be associated with its specific geographic location, allowing you to relive the moment and share your adventures with precision.
In conclusion, harnessing the power of photo geofencing on your Android device adds a new layer of storytelling to your photo collection. Ensure your GPS is on, explore your camera settings, and let your pictures carry the essence of the places you’ve been. Capture the moment, and let your memories come alive with the magic of geotagged photos.

Tips and tricks for using photo geofencing on Android
Enable photo geofencing for all photos:
To save time, you can enable photo geofencing for all photos by default. This will automatically tag all photos with their location information, eliminating the need to manually enable the feature for each photo.
Use a consistent naming convention:
When naming your photos, it’s helpful to use a consistent naming convention. This will make it easier to find specific photos when you’re using the search function in your photo gallery.
Organize your photos by location:
You can also organize your photos by location. This will create a visual timeline of your travels, making it easy to relive your adventures.
Share your geotagged photos with others:
Once you’ve geotagged your photos, you can easily share them with others. This is a great way to share your travel experiences with friends and family.
Use photo geofencing to create a virtual travel diary:
Photo geofencing can be a great way to create a virtual travel diary. Simply create a new album for each trip you take and then use photo geofencing to tag all the photos from that trip. This will create a chronological record of your travels that you can revisit anytime.
Use photo geofencing to track your progress:
If you’re working on a long-term project, such as a DIY home renovation or a weight loss journey, you can use photo geofencing to track your progress. Simply take photos of your progress along the way and then use photo geofencing to tag them with their location information. This will create a visual record of your progress that you can use to stay motivated.
Use photo geofencing to capture memories of everyday events:
Photo geofencing isn’t just for travel photos. You can also use it to capture memories of everyday events, such as your child’s first day of school or a family outing. This will create a treasure trove of memories that you can cherish for years to come.
I hope these tips help you get the most out of photo geofencing on Android!


