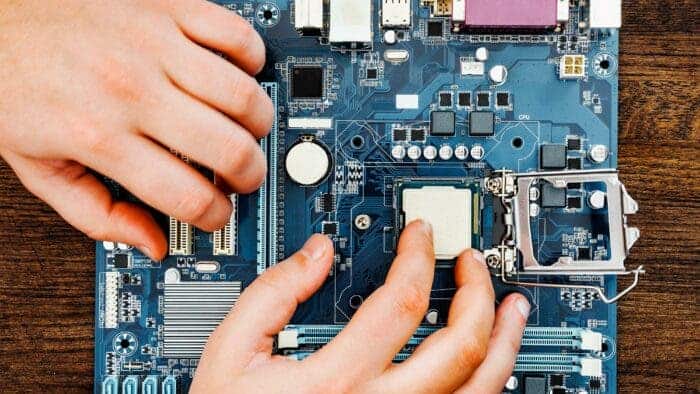
You likely know the processor in your PC, but identifying the motherboard might be a bit unclear. Under normal circumstances, many PC users don’t really care much about the motherboard in their PC. However, knowing the exact motherboard in your PC can help you know which components would work best for your PC. It can also help you rectify issues easily if any. It only takes a minute or two, depending on your preferred method. The motherboard plays a crucial role in your PC, connecting all the different parts like the CPU, GPU, storage drives, and RAM. Let’s get started.
How to Check your Motherboard from BIOS 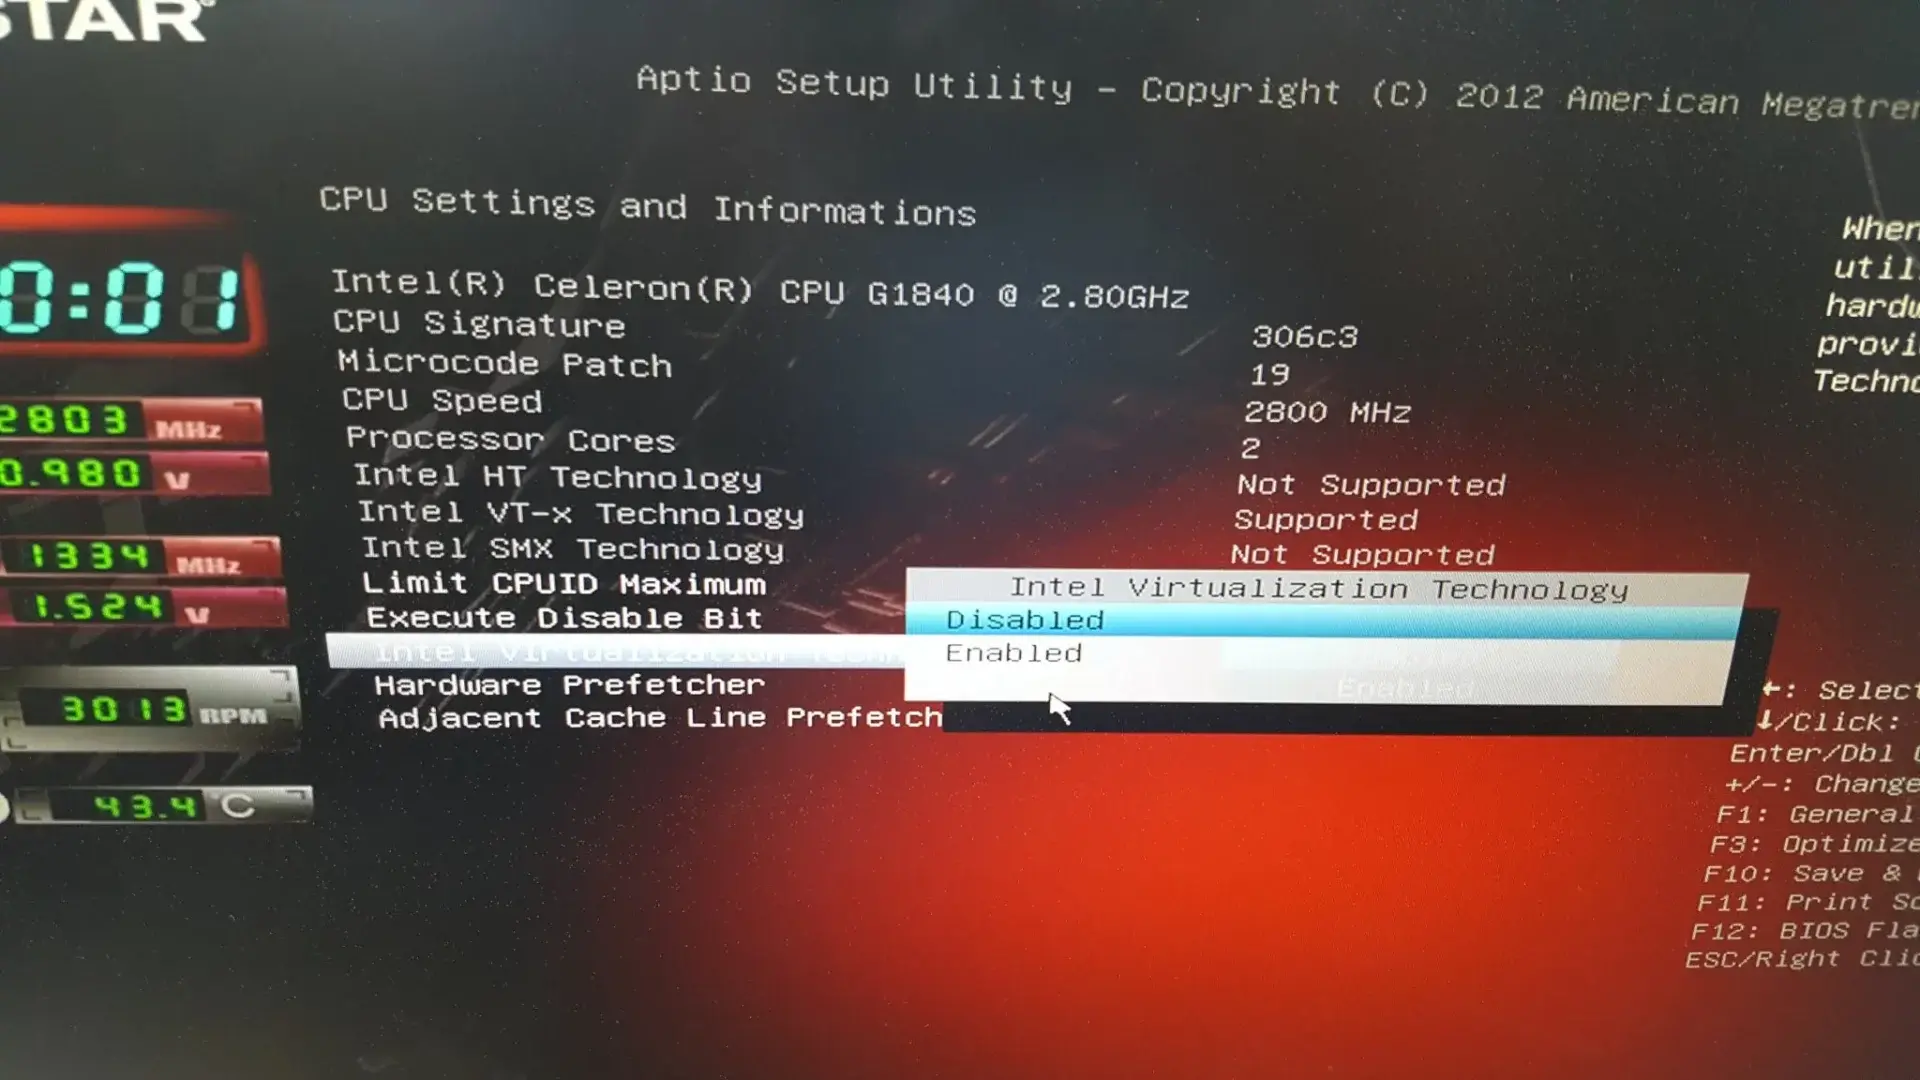
A motherboard contains either Basic Input Output System (BIOS) or Unified Extensible Firmware Interface (UEFI) software, serving as a bridge between firmware and the operating system. This software allows users to adjust settings on the motherboard, processor, and RAM. In addition to storage settings, the BIOS can be valuable for obtaining information about the PC, such as temperatures, voltages, and specific details about the motherboard.
The method for accessing the BIOS can differ based on the motherboard and device, but typically, you need to press the Delete key during the boot-up process. To check, just restart your system and continuously press the Delete key to see if the BIOS interface appears. Some motherboards might briefly display a splash screen with instructions on how to enter the BIOS, making it easier to identify the correct key.
WARNING: It is advisable to be very careful when inside the BIOS settings of your PC. Please do not make any changes you do not understand what it really means as this can cause your PC to malfunction.
How to Check your Motherboard on Windows
Finding out which motherboard you have in Windows 11 is easy and can be done by running software or a single command. For a faster and more convenient option, I suggest installing CPU-Z, a free tool that provides information about your CPU, motherboard, RAM, and other details. If you prefer not to install anything, follow the steps below:
- Press the Windows Key + R.
- Enter “msinfo32.”
- Click OK.
- From the left pane, click on System Summary
Once you’ve followed the steps and opened the System Information window using “msinfo32,” look for three entries related to the motherboard:
1. BaseBoard Manufacturer: This will show you the manufacturer of the motherboard.
2. BaseBoard Product: This indicates the model of the motherboard.
3. BaseBoard Version: While this entry may be present, it’s often blank or incorrect, so you can usually ignore it. 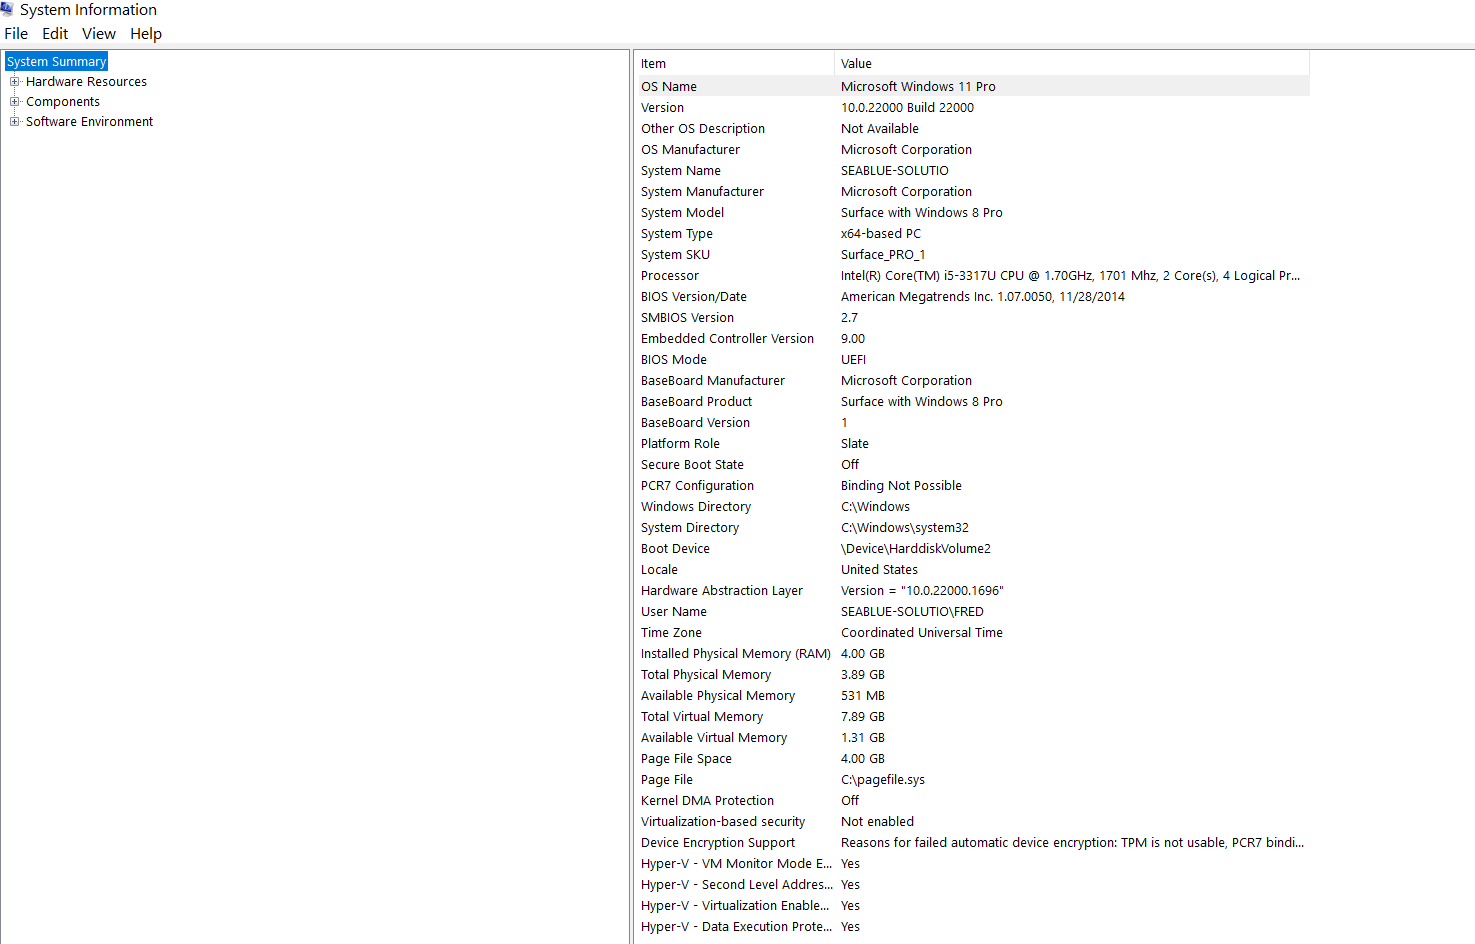
These details will help you identify the make and model of your motherboard without the need for additional software.
How to Check PC Motherboard on Linux 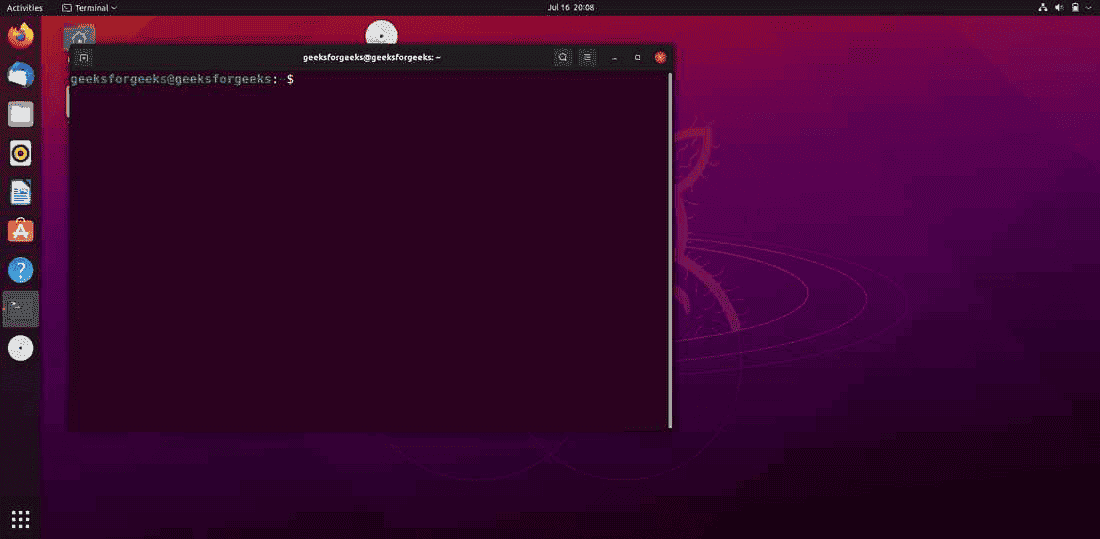
Here are two easy ways to check your motherboard information on Linux:
1. Using the dmidecode command:
This is the most common and versatile method. The dmidecode command displays detailed information about various system components, including your motherboard.
Here’s how to use it:
- Open a terminal window (Ctrl+Alt+T or search for “Terminal”).
- Type the following command and press Enter:
sudo dmidecode -t 2
- This will display information about your motherboard, including the manufacturer, model name, version, and serial number.
- You can use
sudo dmidecodewithout the-t 2option to see information about all system components.
2. Using graphical tools:
Several graphical tools can also display motherboard information, such as:
- Hardinfo: This popular tool provides detailed information about your hardware, including your motherboard. You can install it using your package manager (e.g.,
sudo apt install hardinfoon Ubuntu). - lshw: This command-line tool also provides hardware information, with a graphical interface available (e.g.,
sudo lshw-gtkon Ubuntu). - CPU-Z: This popular Windows utility also has a Linux version that displays CPU and motherboard information. You can download it from their website.
How to Check your PC Motherboard Inside the System 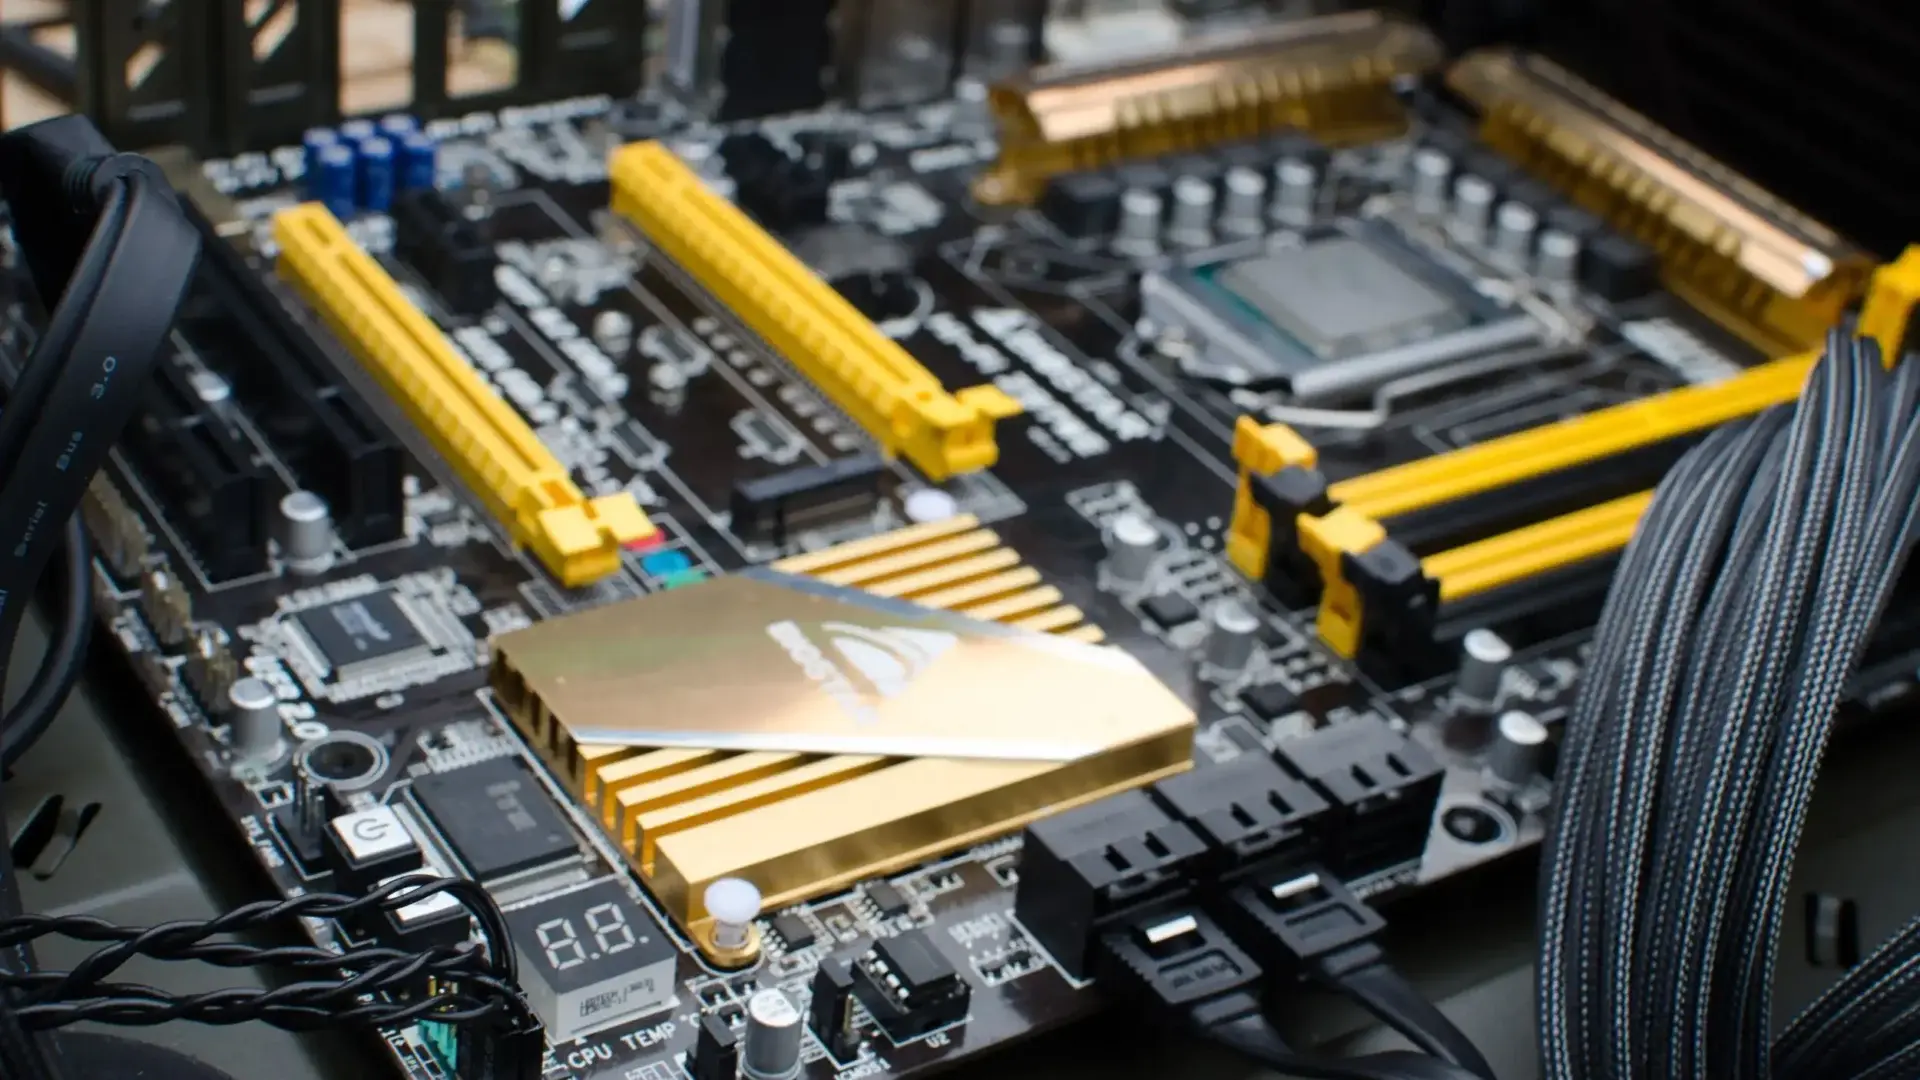
Opening the case is usually a straightforward process and often doesn’t require any tools, especially with modern chassis. Checking the make and model of the motherboard is a simple task that involves removing the side panel and taking a look inside. Most motherboards have the model and manufacturer branding printed on the main PCB, making it easy to identify.
If you assembled the system yourself or have kept some of the boxes in storage, it’s worth checking the motherboard box. Inside this box, you may find the manual, which provides additional details about the motherboard, including information on RAM support and troubleshooting procedures.
Conclusion
Staying informed about your PC is essential for knowing when to upgrade parts and which components may require replacement. If you plan to upgrade to a newer CPU generation, you might need to replace the motherboard, but it’s crucial to check the list of compatible chips beforehand. Additionally, the motherboard largely determines the supported RAM speeds, so knowing your motherboard model is vital when selecting the right parts.

