Dreaming with MacOS? Try It with Virtual Box Environment
How to's | GuidesTuesday, 02 July 2024 at 08:53
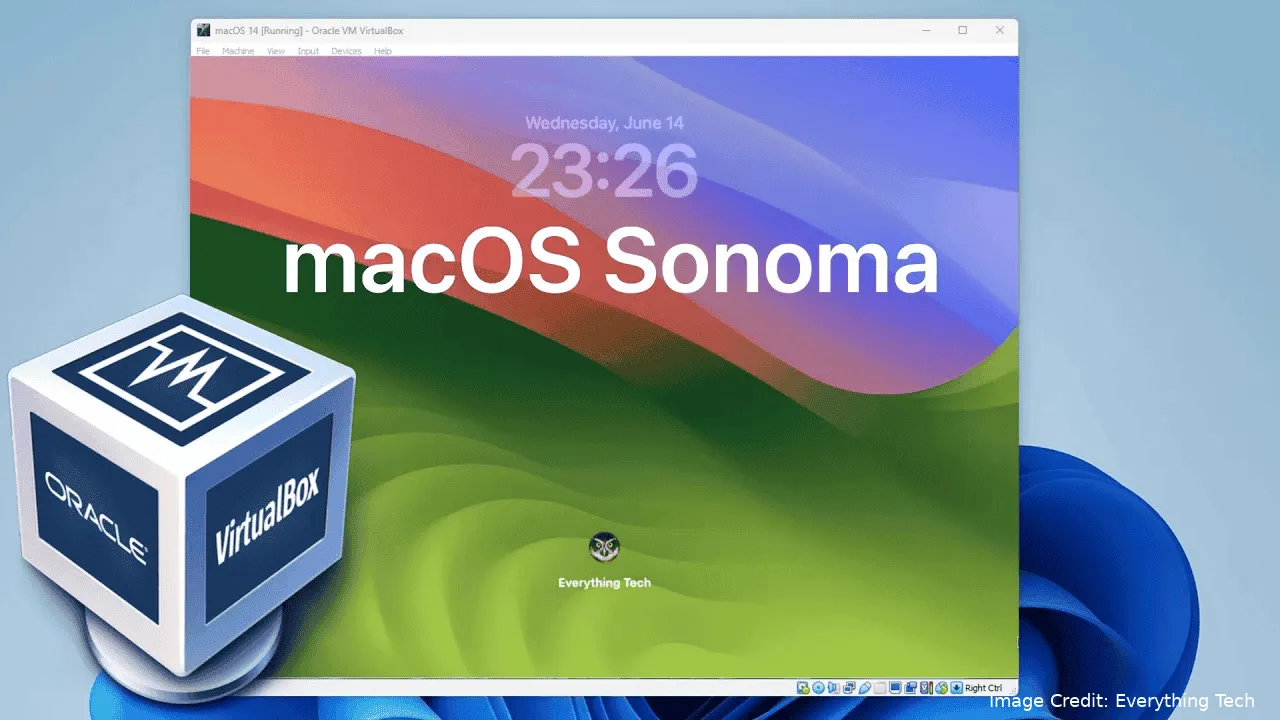
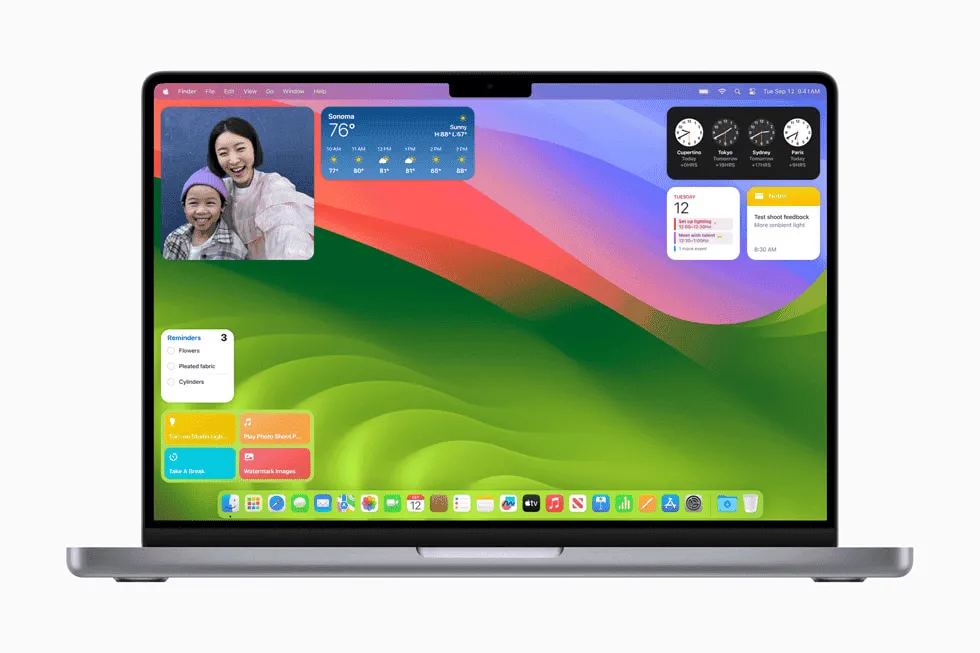
When you buy a Mac, you get the hardware and software, including the latest macOS Sonoma for free. If you want to run macOS on a Windows laptop, you can use Virtual Box. This creates a virtual "sandbox" in which you can use macOS regardless of your PC's original OS.
Setting up macOS On Virtual Box also lets users set up separate areas for testing or trying out different macOS versions. They can do all sorts of tests without affecting their main system. This is helpful for safe testing and development and a good way to try macOS if you're thinking about switching from Windows to Mac.
Apple introduced macOS Sequoia at WWDC 2024, but it's not yet released to the public. Currently, if you're looking to run a stable version of macOS on VirtualBox, your option would be macOS Sonoma. Here's a guide on how to install macOS using VirtualBox. (Source: XDA-Developers).
What Is Virtual Box?
VirtualBox is a full-featured virtualization tool that works on macOS, Windows, and Linux. It lets you run another operating system inside your current one, creating a virtual environment. Unlike dual-booting, where you switch between systems, VirtualBox runs the guest OS alongside your main OS.
Running an OS in VirtualBox means it shares resources with the host OS, which can slow down performance. Still, VirtualBox is a reliable option for testing, development, or using apps that need a different OS without changing your main setup.
If you're looking for alternatives, VMWare is another top choice. It offers similar features and performance tweaks, catering to different needs and preferences in virtual computing.
Prerequisites for Installing MacOS on Virtual Box
To successfully install macOS in VirtualBox, ensure you have the following prerequisites:
- Adequate Computer Resources: Your computer should have sufficient storage space and processing power to accommodate macOS, which typically requires over 20GB of disk space once installed.
- Virtualization Software: Download and install VirtualBox, a versatile virtualization platform available for macOS, Windows, and Linux.
- macOS ISO File: Obtain the macOS installation ISO file. This file contains the operating system's installation files and is necessary to set up macOS within VirtualBox. Note that downloading macOS installation files from sources other than Apple's official channels may not be compliant with Apple's terms of service.
- Stable Internet Connection: Ensure you have a reliable internet connection to download necessary updates, drivers, and additional software during the installation process.
If you're okay with these steps, then you can proceed with setting up macOS in VirtualBox.
How to Get the ISO file for macOS
To get the macOS ISO file for VirtualBox, follow these steps based on whether you have access to a Mac:
Using a Mac:
- Download from the App Store:
- Go to the macOS Sonoma listing on the Mac App Store.
- Click the "Get" button to download the file. Do not install it on your Mac.
- Find the macOS installation file (usually a .APP file) in your Applications folder.
- Convert the File:
- Convert the .APP file to a . DMG file using Disk Utility.
- Use Terminal commands or third-party software to convert the .DMG file to an ISO file.
Without a Mac:
Search Online:
- Due to Apple's policy changes, you can't directly get the macOS installation file from their servers.
- Search for "macOS Sonoma ISO file" on trusted websites. Be careful to choose reliable sources to avoid security risks.
- Download the ISO file, which is typically around 14GB.
Setting Up VirtualBox:
Once you have the macOS ISO file, you can set up VirtualBox to run macOS on your non-Apple hardware or alongside another operating system. Always ensure you're downloading software from safe, reputable sources to protect your system.
Creating your macOS Sonoma ISO File
- Once the download process concludes, launch the Terminal app on your Mac.
- Paste hdiutil create -o /tmp/Sonoma -size 16384m -volname Sonoma -layout SPUD -fs HFS+J, and hit Return.
- Paste hdiutil attach /tmp/Sonoma.dmg -noverify -mountpoint /Volumes/Sonoma, then hit Return.
- Paste sudo /Applications/Install\ macOS\ Sonoma.app/Contents/Resources/createinstallmedia --volume /Volumes/Sonoma –nointeraction, hit Return, and enter your Mac's password when prompted. Note that your password won't be visible in Terminal, not even as asterisks.
- Paste hdiutil eject -force /Volumes/Install\ macOS\ Sonoma, then hit Return.
Paste hdiutil convert /tmp/Sonoma.dmg -format UDTO -o ~/Desktop/Sonoma, and hit Return. Finally, paste mv -v ~/Desktop/Sonoma.cdr ~/Desktop/Sonoma.iso, and hit Return. A file called Sonoma.ISOshould appear on your Desktop. - To delete the DMG file that you no longer need, paste rm -fv /tmp/Sonoma.dmg, and hit Return.
Note: If you plan on running macOS in VirtualBox on a Windows or another Mac computer, move the newly created Sonoma.ISO file to the device of your choice. Otherwise, leave it on your Desktop.

How to Install macOS On VirtualBox
Now that you've downloaded your ISO file of macOS Sonoma, it's time to install and set up your VirtualBox environment. Follow these steps to complete the virtualization process:
Download VirtualBox
- Visit the VirtualBox downloads page.
- Download the version for your operating system (macOS, Windows, or Linux).
- Install VirtualBox by following the on-screen instructions.
Prepare the macOS ISO File
- Ensure your macOS ISO file is downloaded and saved in an easily accessible location.
- If you converted the macOS installation file (.APP or .DMG) from a Mac, make sure the resulting ISO file is saved on your computer.
Create a New Virtual Machine in VirtualBox
- Open VirtualBox after installation.
- Click on the "New" button to create a new virtual machine (VM).
- Enter a name for your VM (e.g., macOS) and select the type "Mac OS X" and the version that matches your macOS ISO file.
- Allocate at least 4GB of RAM for the VM, depending on your system's capabilities.
- Create a virtual hard disk (VDI format is recommended) with at least 20GB of space.
Configure Virtual Machine Settings
- Select the new VM from the list and click on "Settings."
- Under "System," go to the "Processor" tab and allocate CPUs (2 CPUs are usually enough).
- Go to the "Storage" tab, click on the empty disk icon under "Controller: IDE," and select "Choose a disk file." Locate and select the macOS ISO file.
Start the macOS Installation
- Click "Start" to launch the VM.
- VirtualBox will boot from the macOS ISO file, and you'll see the macOS installation screen.
- Follow the on-screen instructions to install macOS on the virtual hard disk. This includes selecting the disk, formatting it, and proceeding with the installation.
Complete the Installation
- After macOS is installed, VirtualBox may restart the VM automatically.
- Follow any additional setup prompts from macOS to customize your installation and set up user accounts.
Install VirtualBox Guest Additions (Optional)
- For better performance and features, install VirtualBox Guest Additions within the macOS VM.
- With the macOS VM running, click on "Devices" in the VM's menu bar and select "Insert Guest Additions CD image..."
- Follow the prompts to install Guest Additions inside the macOS VM.
Use macOS in VirtualBox
Once installed and configured, macOS will run within VirtualBox on your non-Apple hardware. You can use it like a regular macOS environment, though some features may not work as expected and performance might be slower compared to a native installation.

Conclusion - MacOS On Virtual Box is Perfectly Possible
You can install macOS in a virtual machine on Mac, Windows, and Linux computers. While the setup process might seem complicated at first, you only need to do it once. After that, you can easily launch VirtualBox and use macOS whenever needed. However, be aware that some macOS features might not work perfectly, and depending on your hardware and virtual environment settings, you may experience slowdowns.
Using VirtualBox to run macOS gives you the flexibility to access a Mac-like environment on different platforms. This can be invaluable for development, testing, or just experiencing macOS without buying Apple hardware.
Note: macOS Sequoia is still in the development stages, but you may be able to get it on a Virtual Box following these steps. You only need to download installer files from the Apple Developer downloads page. Due to its unfinished state, the chances of running into issues are quite high.
Popular News


Latest News
Loading