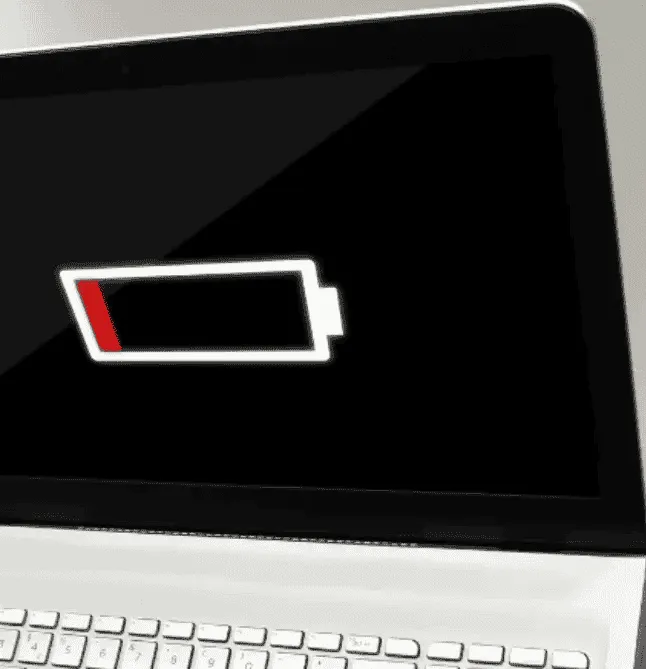
If you plug in your Windows 11 laptop and it isn’t charging, it can be frustrating and worrying, especially if the battery is dead. However, there’s no need to panic just yet. There are a few simple steps you can try that might fix the issue before you consider more drastic measures. While this may look like hardware damage or a power source that started to malfunction, there are some valid steps that you can try before making fast conclusions.
In this guide, we will go through the basic steps for possibly fixing this issue. Sometimes, a simple barrier of debris can prevent your device from charging. In other situations, it may be a system issue or configuration that is preventing it from charging properly. So, without further ado, let's dive into all possibilities for fixing this issue.
Clean The Dust and Debris
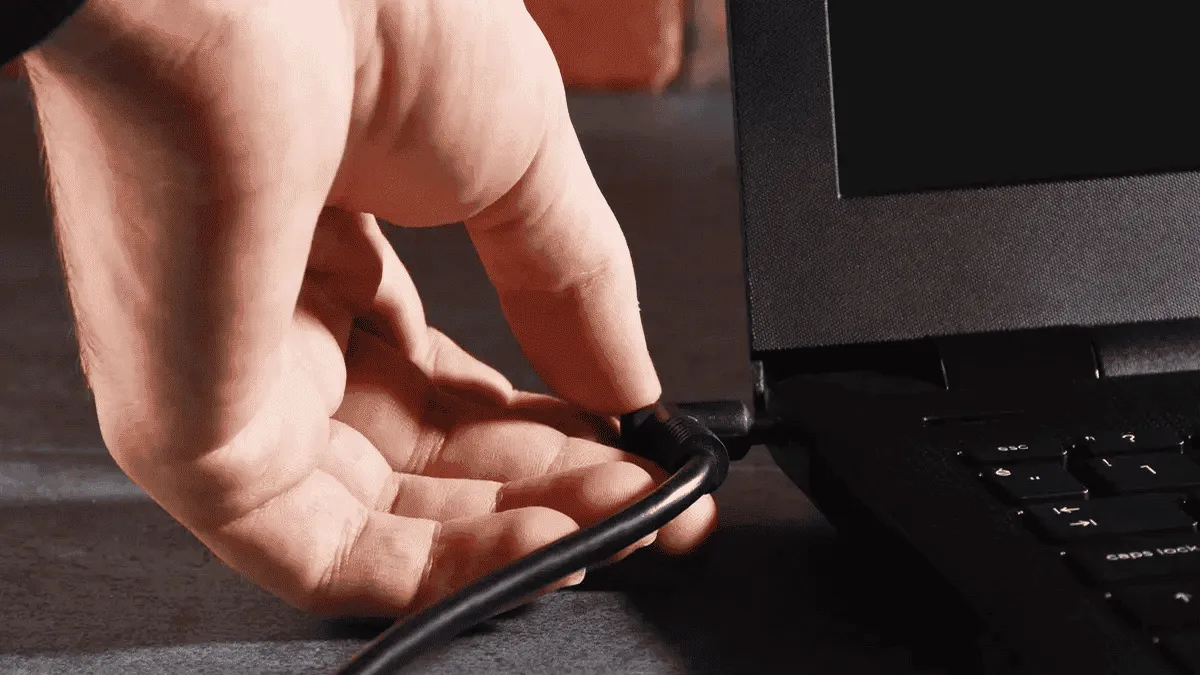
Sometimes, the issue happens because the charger isn't plugging into the charge port. Whether that's a USB-C connection or a more traditional barrel connector, have a look inside with a flashlight. Some debris or detritus may have become lodged in there. If there is, turn the laptop off and remove the blockage with a non-conductive implement. Then try plugging the charger back in again to see if that fixed the issue. Be careful when dealing with this, and try to use non-conductive tools when managing these components. You can also clean the metallic contacts inside the charge port with a cotton swab soaked in a little isopropyl alcohol.

Image Credit: Your Computer Guy
Change the charging cable (and charger)
If you can, try using a different laptop charger and charging cable. That's a lot easier if you're using a USB-C charger, as you can swap out the one you're using for a power bank or smartphone charger. Although if that works, the charge speed will be terrible, it's still a good way to check if your charger or charge cable is at fault.
If you're using a more traditional barrel power connector for the laptop, you may be out of luck unless you know someone with the same laptop you can borrow a charger from. Don't go around plugging in random chargers that physically fit — that could damage the laptop (further). Also, be careful when using chargers that are not original. While some will momentarily fix the issue, some fake chargers can do more damage than good and even burn your laptop.
Reinstall Your Battery Drivers
Did you know your battery has its drivers? Occasionally, a Windows update or software change can disrupt these drivers, causing charging issues. Reinstalling them can often resolve the problem.
Step-by-Step Guide:
- Search for "Device Manager" in the Windows search bar and select it from the results.
- Scroll down to find "Batteries" in the list of devices.
- Click the arrow next to "Batteries" to expand it.
- Right-click on each item under "Batteries" and select "Uninstall."
- Don’t worry, they will reinstall automatically when you restart your laptop.
- Shut down your laptop.
- If it's plugged in, disconnect the power cable.
- Press and hold the power button for 30 seconds.
- Plug the power cable back in.
- Turn on your laptop.
- Your battery drivers should be reinstalled.
Sometimes a system issue causes the drivers to not work properly or at all. The above steps are a valid attempt if this is your case. If the issue persists, we need to try other things.
Run Windows Update
Running Windows Update can resolve many issues, including charging problems. Follow these steps to check for updates and install them:
- Open Windows Update:
- Click on the Start menu and select "Settings."
- Go to "Update & Security" and click on "Windows Update."
- Check for Updates:
- Click on "Check for updates" to see if there are any available updates for your system.
- Install Updates:
- If updates are found, click "Download and install."
- Wait for the updates to install completely.
- Reboot:
- After the updates have been installed, restart your laptop.
- Test Charging:
- Once your laptop has rebooted, try plugging in the charger again to see if the issue is resolved.
System Restore
If you're unable to charge your laptop and suspect that a recent change caused the problem, you can use System Restore to revert your laptop to a previous state. Here’s how to do it:
- Open System Restore:
- Type "System Restore" in the Windows search bar and select "Create a restore point."
- Access System Restore:
- In the System Properties window, click on the "System Restore" button.
- Choose a Restore Point:
- Select a restore point from a date before you start experiencing the charging issue. If there are multiple restore points, choose the one that you think will resolve the problem.
- Start the Restore Process:
- Follow the on-screen instructions to start the restoration process. Your computer will restart and restore to the selected point.
- Check Charging:
- Once the restore process is complete and your laptop has rebooted, try plugging in the charger again to see if the issue is resolved.
Factory Reset
If your laptop still isn't charging properly despite all efforts and it still has some power left, you might consider performing a factory reset. This process will restore your laptop to its original state, potentially resolving any software-related issues causing the charging problem. Here’s how to do it:
- Backup Your Data:
- Before starting the reset, ensure you back up all your important files, as a factory reset will erase everything on your laptop.
- Access the Reset Option:
- Go to the Start menu and click on "Settings."
- Select "Update & Security" and then click on "Recovery."
- Start the Reset Process:
- Under the "Reset this PC" section, click on "Get started."
- Choose the option to either "Keep my files" or "Remove everything." For a thorough reset, "Remove everything" is recommended, but remember this will delete all your files.
- Follow the On-Screen Instructions:
- Follow the prompts to complete the reset process. This may take some time, and your laptop will restart several times.
- Set Up Your Laptop:
- Once the reset is complete, you’ll need to go through the initial setup process as if you were turning on the laptop for the first time.
- Check Charging:
- After the reset and setup, plug in your charger to see if the issue has been resolved.

Conclusion - Is it Possible to Fix the Laptop Not Charging Issue?
In troubleshooting laptop charging issues, we always need to check all possibilities and try all solutions before resorting to drastic measures like a factory reset. Simple checks like cleaning ports, changing chargers, or updating drivers can often resolve the problem. Of course, you need to evaluate if your issue isn't hardware-related. For certain chargers that use USB Type-C cable, it's much simpler to check if you have a damaged unit. When you have a barrel charger, it's more complicated and you may need to look for assistance to determine if your laptop has a hardware issue.
These steps ensure you exhaust all practical solutions before opting for more drastic measures, which can erase valuable data. By following these troubleshooting steps and keeping your laptop's software and hardware well-maintained, you can often resolve charging issues effectively. If all else fails, a factory reset remains a last resort to reset your laptop to its original state, potentially resolving persistent software-related issues affecting charging functionality. If not even the factory reset can remedy the situation, then you probably have a hardware issue.


Loading