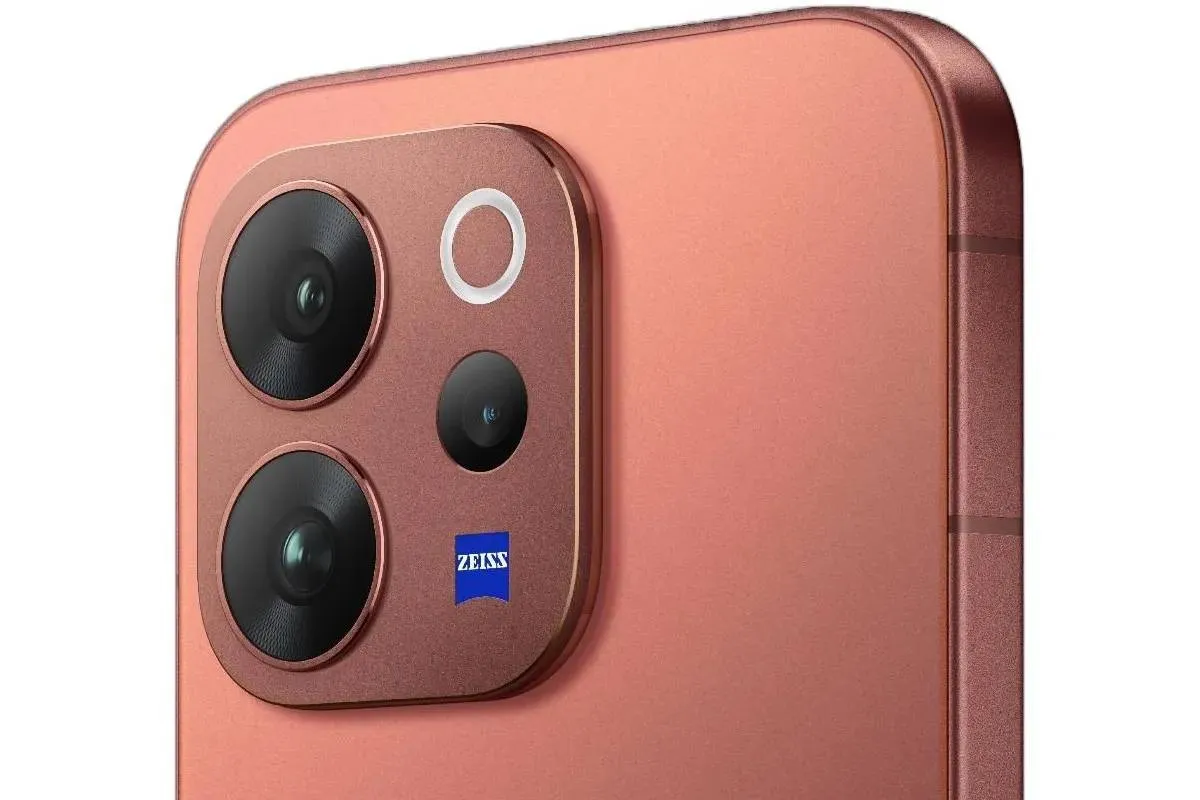
Vivo V70 launches with flat 6.59" OLED, aluminum frame, 6,500mAh extreme-temperature battery!
Feb 19, 09:00
Too Big to Fail — or Too Expensive to Sustain? The Financial Crossroads of OpenAI
Feb 22, 23:58
Vivo V70 Elite announced: Costs 480€ But Packs Flagship Specs and Six Years of Updates
Feb 19, 11:39
AI is affecting productivity and jobs in Europe — but not in the way you thought
Feb 19, 09:50
Xiaomi Bets Big on Cinema, Sports, and Gaming with Its Largest TV Yet
Feb 17, 09:42
Too Big to Fail — or Too Expensive to Sustain? The Financial Crossroads of OpenAI
Despite ChatGPT’s massive success, OpenAI faces financial pressure, heavy infrastructure costs, and dependence on Big Tech investment ahead of 2027.

Nothing Phone (4a) Series Confirmed With Snapdragon Power
Nothing confirms Snapdragon chipsets for the Nothing Phone (4a) and (4a) Pro, with leaks pointing to Snapdragon 7s Gen 4, 5,400mAh battery, and new Glyph lighting features.

Tesla’s $59,990 Cybertruck Price Isn’t Staying for Long
Tesla launches a $59,990 Cybertruck AWD, but the price is temporary as the company plans to adjust it dynamically based on real-time demand and order volume.

Google Gemini 3.1 Pro Arrives: A Major Leap in AI Reasoning
Google’s Gemini 3.1 Pro boosts reasoning, coding, and complex task handling, with strong benchmark gains and preview access across dev, enterprise, and apps.
- Great insights on the Honor Watch GS 5 features! The 23-day battery life and advanced health tracking tools make it a strong competitor in the wearable market. At Hezire Technologies, we’re also seeing growing interest in smart wearables that offer long battery performance and accurate health data feedback. Users in Dubai and the UAE are always asking for reliable devices that support active lifestyles — and watches like the GS 5 really fit that need. Thanks for the detailed specs!
 heziretechnologies19-02-2026
 - I want to know how much the Oppo Pad 4 Pro tablet is currently priced please?Egyptian13-02-2026
- I want to know how much is the price of the Oppo Pad 4 Pro tablet currentlyEgyptian13-02-2026
- We hope that the giant Xiaomi will put a cooling fan in the global version of the Xiaomi 17T Pro phone as in the Redmi K90 Ultra, albeit with less capabilities, and that the battery will be larger than 7500 mAh, and the screen will reach 6.85 inches.Egyptian12-02-2026
- Most of the tablets doesn't support Zoom video blur background feature.YugeshM1509-02-2026
- 👍️CajunMoses03-02-2026
- Besoin de ça
 merveil11-12-2025
 - Looking forward to buying both sizes of this when they are available in Thailand 🇹🇭chrisman08-12-2025
- Finally! Surprised corrupt Grok was not mentionedMaxNix07-12-2025
- About time!!MaxNix07-12-2025

POCO X8 Pro Max Leak Reveals Design, Specs, and Huge Battery
Leak reveals POCO X8 Pro and X8 Pro Max design, specs, Dimensity chips, 1.5K OLED displays, big batteries, and Android 16 with HyperOS 3 expected.

Too Big to Fail — or Too Expensive to Sustain? The Financial Crossroads of OpenAI
Despite ChatGPT’s massive success, OpenAI faces financial pressure, heavy infrastructure costs, and dependence on Big Tech investment ahead of 2027.
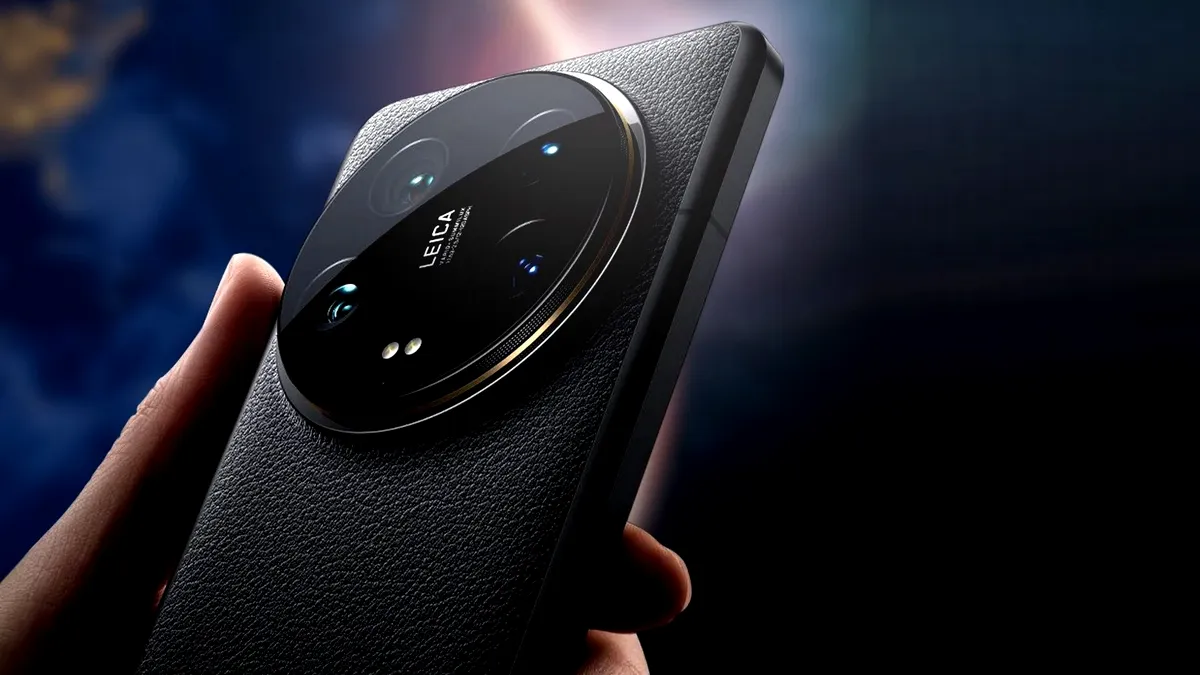
Xiaomi 17 and Xiaomi 17 Ultra: Global Launch Date and Prices Leak
Xiaomi 17 and Xiaomi 17 Ultra European prices leak ahead of February 28 launch, with battery cuts confirmed for global models.

Top 6 WhatsApp settings to turn on to keep your account safe and how to activate them
WhatsApp is where most of our daily talks happen. Chats with friends, work updates, photos, and even bank alerts all go through it.
Loading


